Caine
Super Freak
Hello everyone! I've found myself using the information provided in this custom section quite often, so I figured I would offer up some info of my own. this thread will be a step by step process as I finish a head sculpt from start to finish. Here's some info and materials!
Ill be using super sculpey firm for this sculpt. It's readily available, strong enough to hold good detail and works fast.
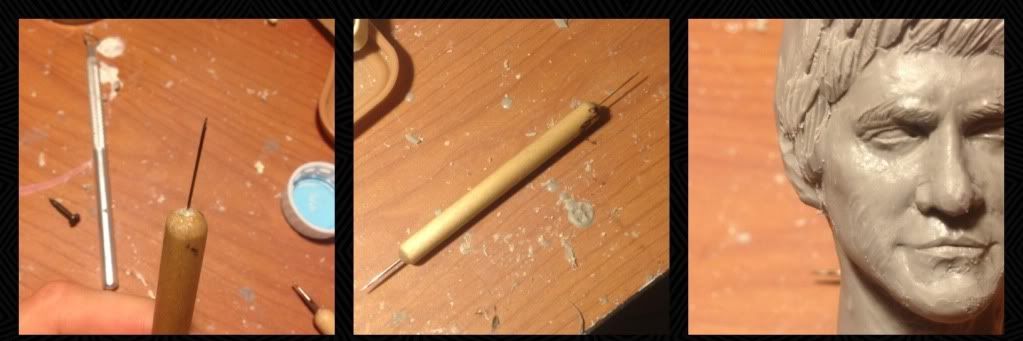
Below is a picture of the basic tools I use including: a scalpel shaped blade, needle tool, varying sizes of ball tools, a ribbon tool and a wooden tool with a point. Ill also be using jb weld epoxy putty and a wooden dowel.
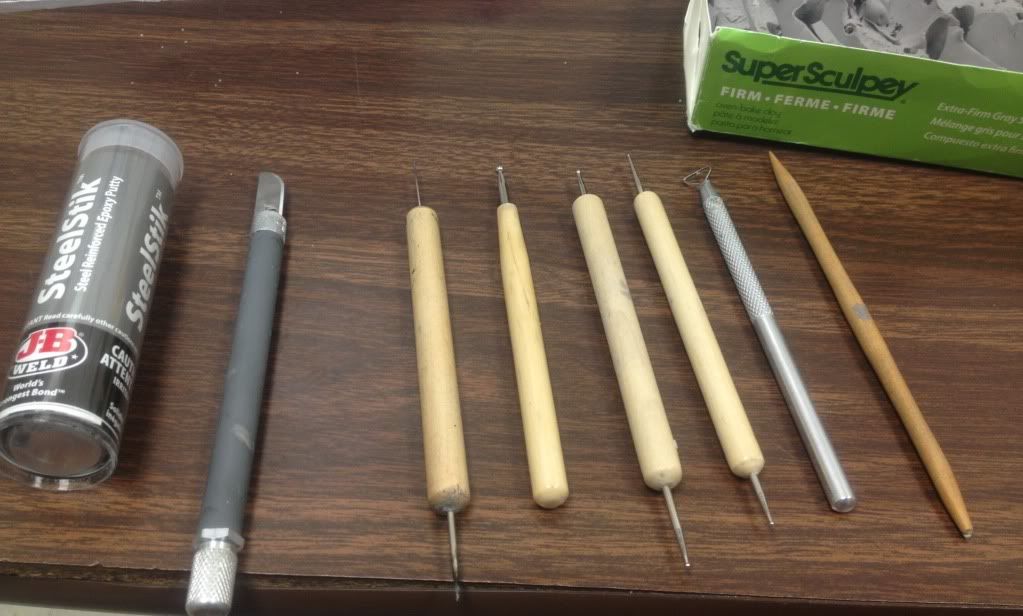
I use a wooden dowel for the handle of my sculpt. It's important to use either wooden or metallic objects for this because the head will eventually be baked and the handle will need to resist the heat.
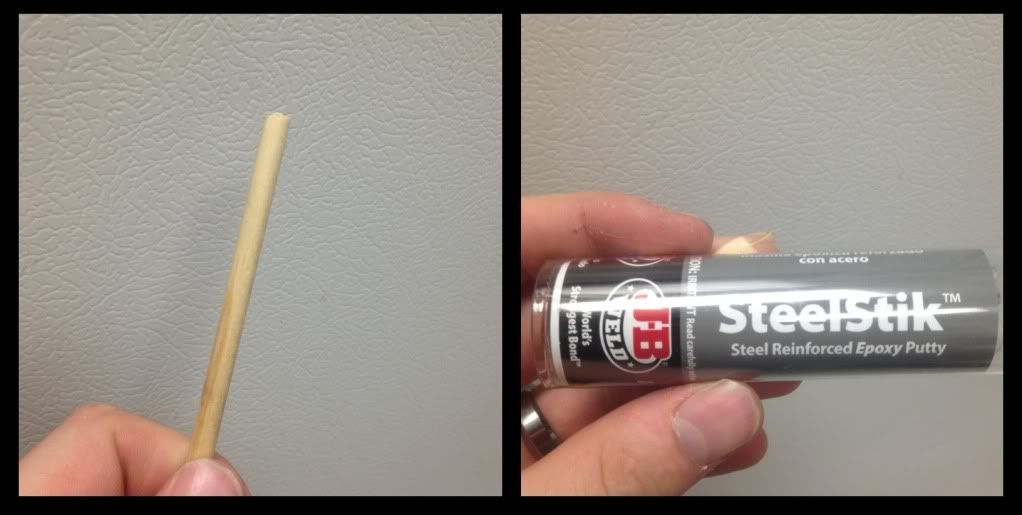
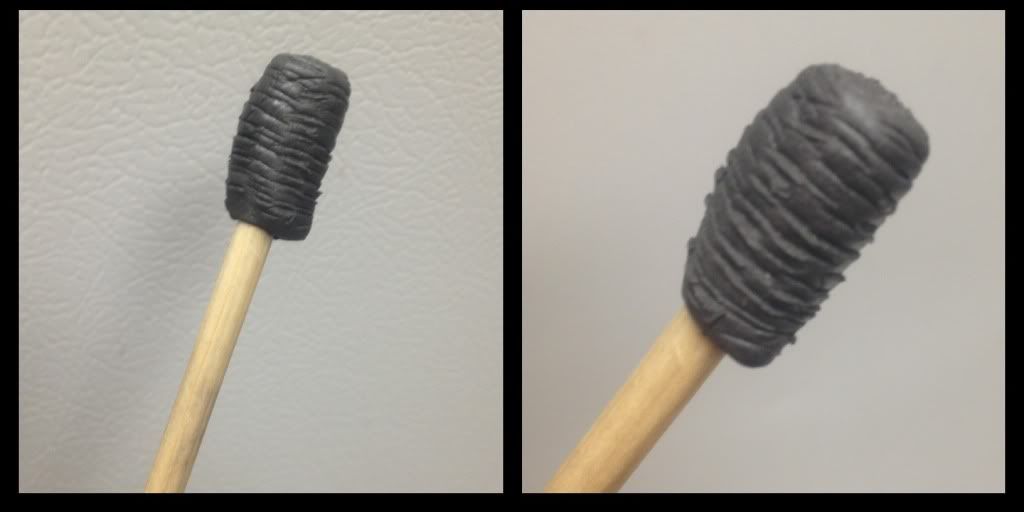
Jb weld will be the foundation for the sculpt. It will give the clay something to stick to. I also texture the epoxy before it hardens to help the bond.
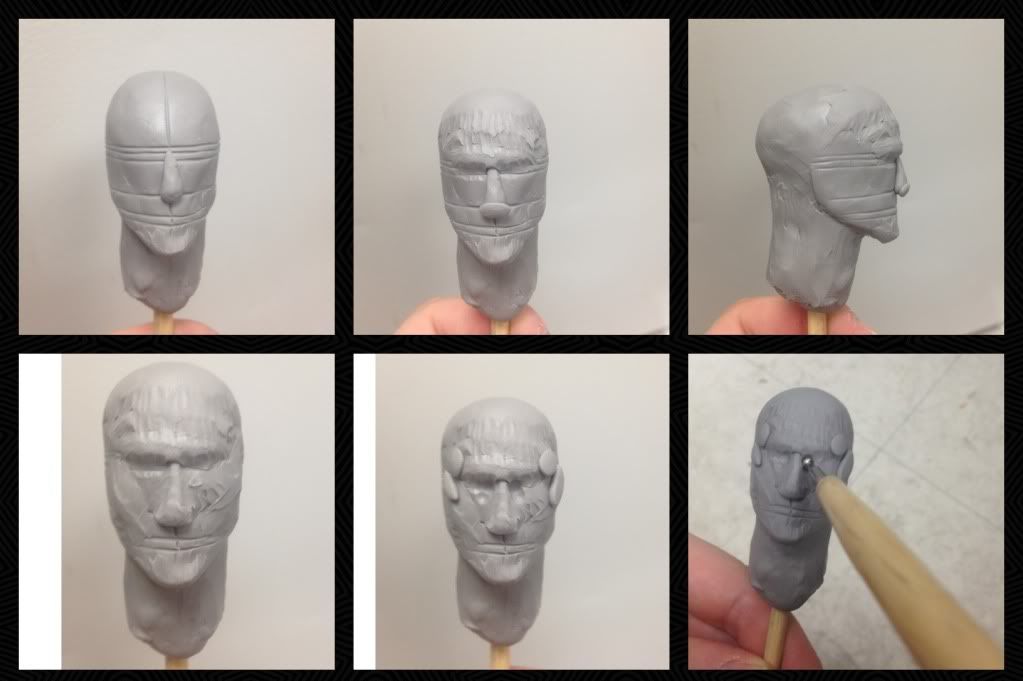
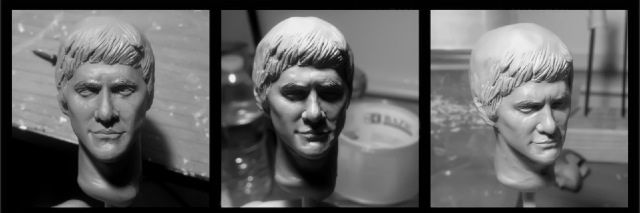
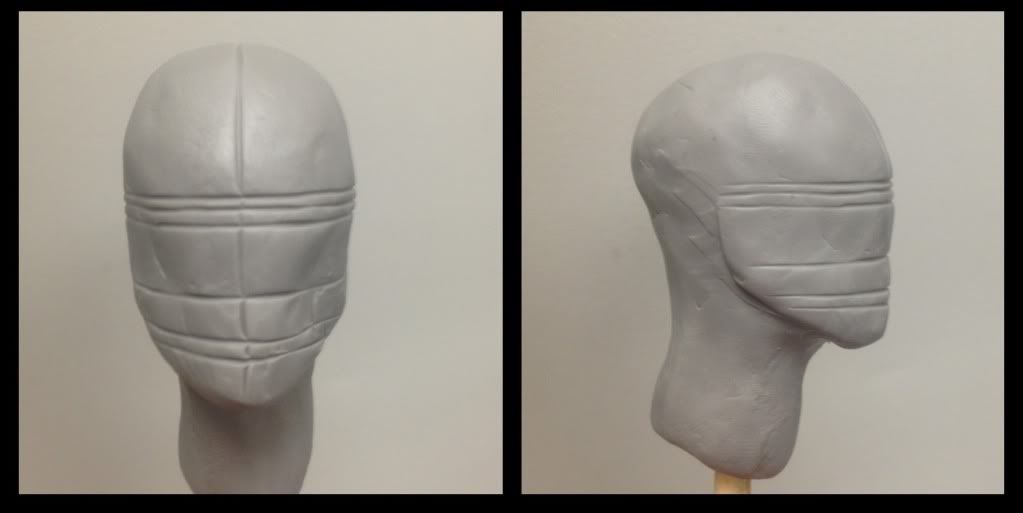
The next steps are just a matter of bulking out the basic shape of the head. I take large gum ball sized pieces and roll them in my hands to soften them. This makes building the forms quicker and easier to smooth out.
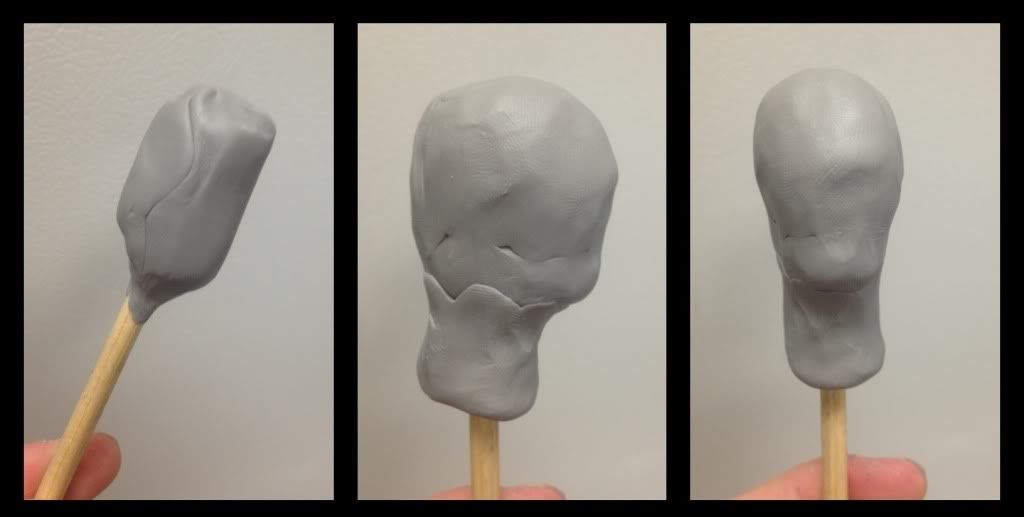
After I've got a basic shape I start to add the jaw line. This is all generic at this point. I just want it to resemble a human head, moving to specific features for a likeness comes later. Aside from just using my fingers, I also use a scalpel blade turned sideways like a spatula to add and smooth bulk forms.
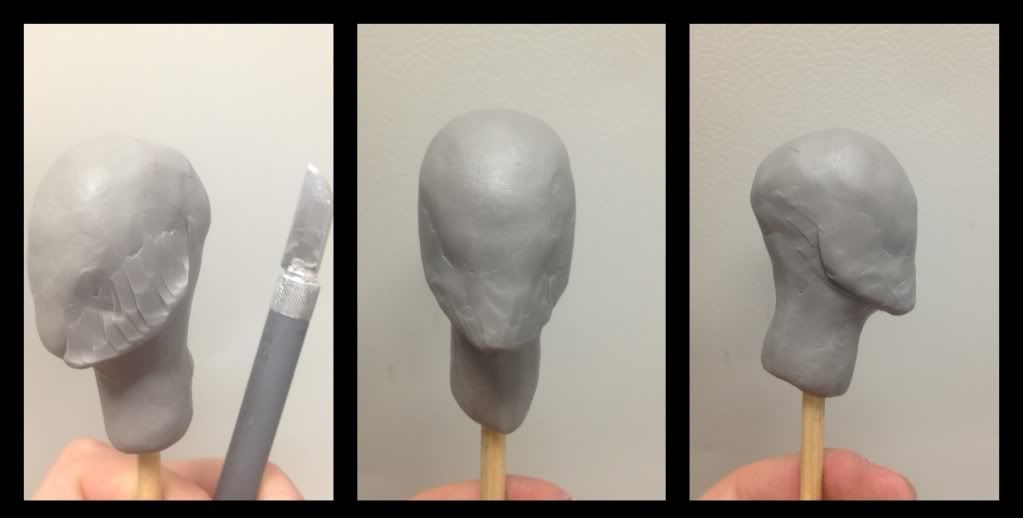
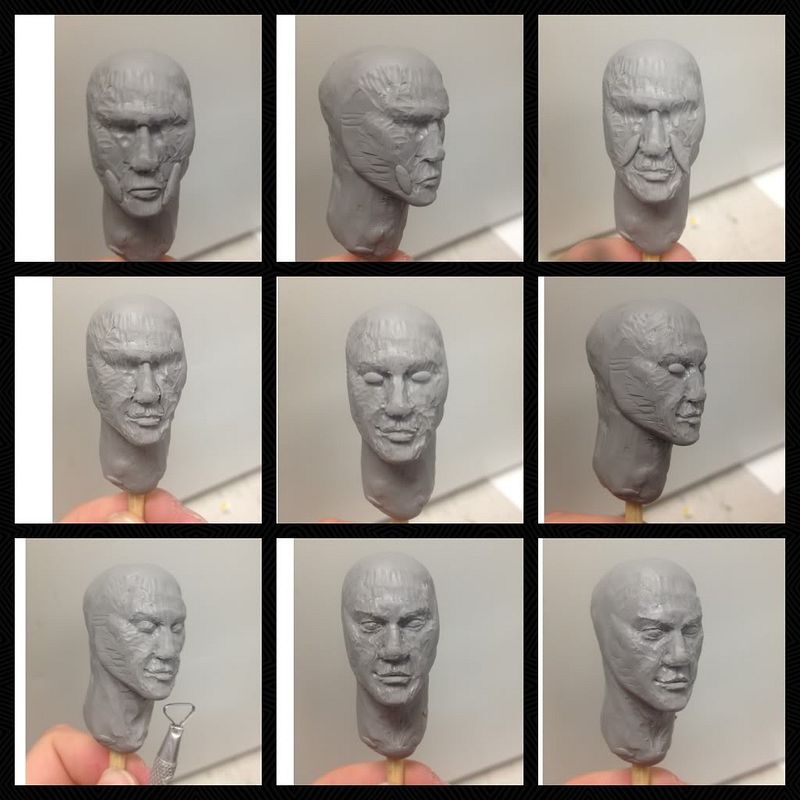
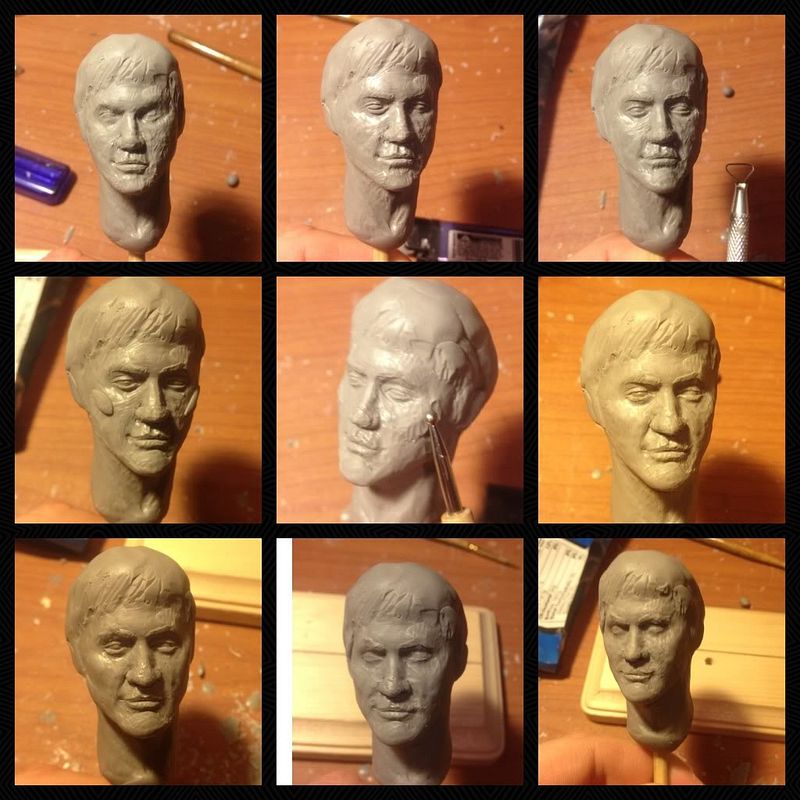
I should say that sculpting human anatomy requires some study of the human form, especially in regards to proportion. The next step shows the basic proportion of facial features. I create a rough middle line, eye, nose and mouth line. The eyes are roughly halfway down the face, nose is between eyes and chin, and mouth between nose and chin. The jaw typically ends half way between the front and back of the head. Again, only temporary to achieve the basic forms. Some facial features break this rule, but most faces follow these guidelines.
Ill be using super sculpey firm for this sculpt. It's readily available, strong enough to hold good detail and works fast.
Below is a picture of the basic tools I use including: a scalpel shaped blade, needle tool, varying sizes of ball tools, a ribbon tool and a wooden tool with a point. Ill also be using jb weld epoxy putty and a wooden dowel.
I use a wooden dowel for the handle of my sculpt. It's important to use either wooden or metallic objects for this because the head will eventually be baked and the handle will need to resist the heat.
Jb weld will be the foundation for the sculpt. It will give the clay something to stick to. I also texture the epoxy before it hardens to help the bond.
The next steps are just a matter of bulking out the basic shape of the head. I take large gum ball sized pieces and roll them in my hands to soften them. This makes building the forms quicker and easier to smooth out.
After I've got a basic shape I start to add the jaw line. This is all generic at this point. I just want it to resemble a human head, moving to specific features for a likeness comes later. Aside from just using my fingers, I also use a scalpel blade turned sideways like a spatula to add and smooth bulk forms.
I should say that sculpting human anatomy requires some study of the human form, especially in regards to proportion. The next step shows the basic proportion of facial features. I create a rough middle line, eye, nose and mouth line. The eyes are roughly halfway down the face, nose is between eyes and chin, and mouth between nose and chin. The jaw typically ends half way between the front and back of the head. Again, only temporary to achieve the basic forms. Some facial features break this rule, but most faces follow these guidelines.
Last edited: