Scratch-built 1/6 Ghosthawk/Skyhawk

Collector Freaks Forum

Help Support Collector Freaks Forum:

This site may earn a commission from merchant affiliate links, including eBay, Amazon, and others.
Thickness varies from .20 to 1.5 mm. 2mm is very thick and had limited application but good for structural supports. Shame that model zone down here closed down. Materials are limited. Is it still open up north?


No. It closed down everywhere i'm afraid.
And my apologies. I never realised you were in the UK.
I get my supplies from a local vacuum forming company. They use a local distributor and i give them an order of what i want, then they add it to their next order and get it delivered in a day or two.
The sheets i get are matt black, 54" by 26". I usually get ten sheets of .080, five sheets of .040, and five sheets of .020
The last order i put in cost £170 delivered to the vacform company.
If you get your yellow pages and find a vacforming company locally, pop your head in the door and ask if they can help you out.
Even if they can't, they might give you the number of their distributor.
 
Nothing much. Small updates:

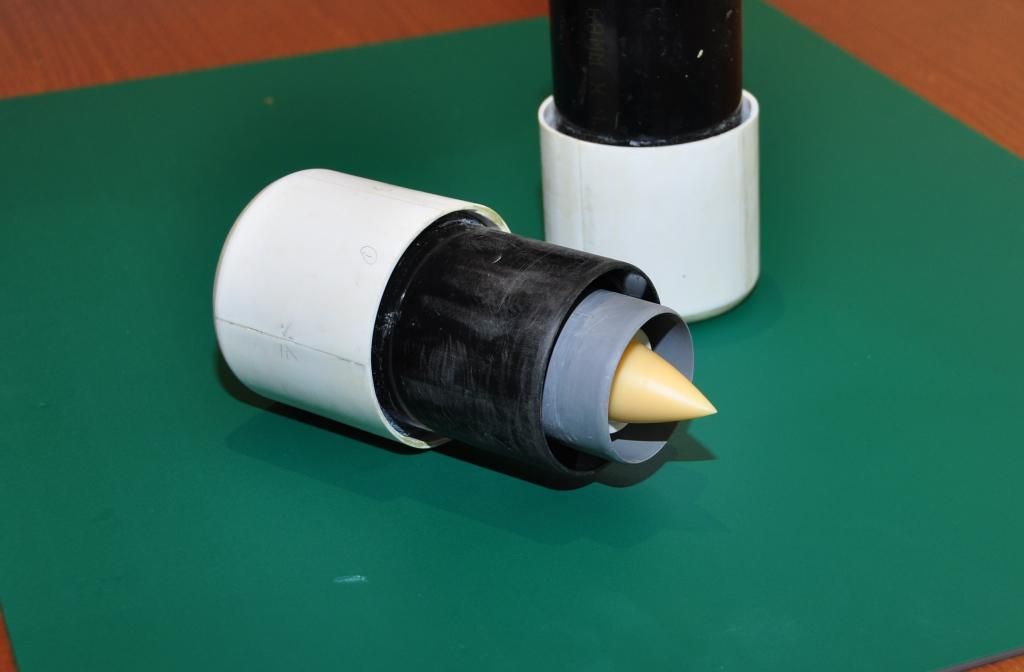
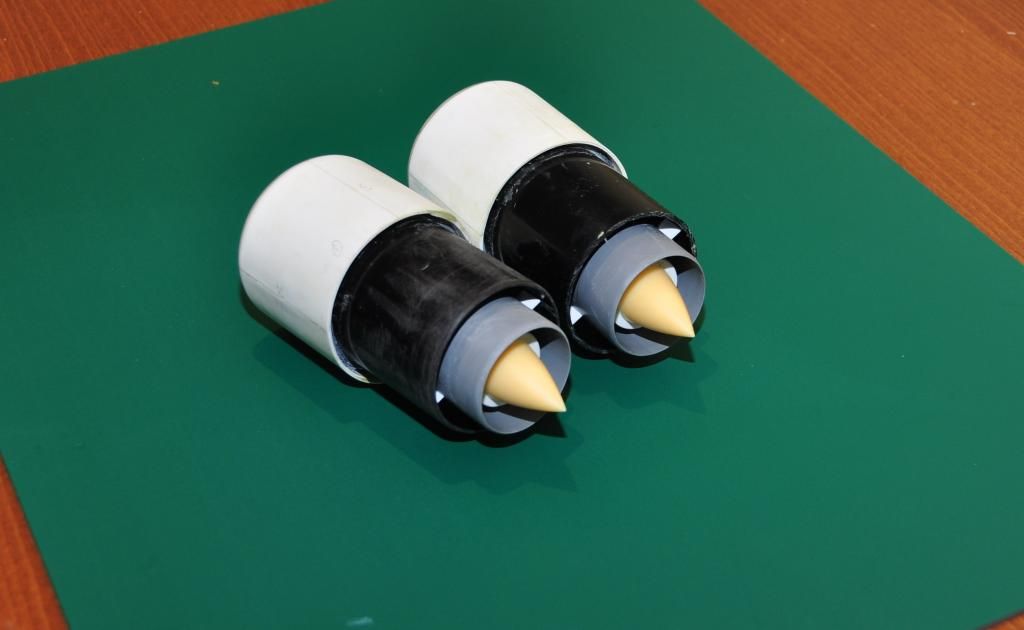
I have managed to do the two engines. The other one still needs finishing on the nacelle. I have casted the cone for the intake blade. The rear divergent cone was also casted. I will do a detailed walk around once the whole engine is done.


This is one of the coolest things I've ever seen. Great work, wish I was capable!
 
Small updates:

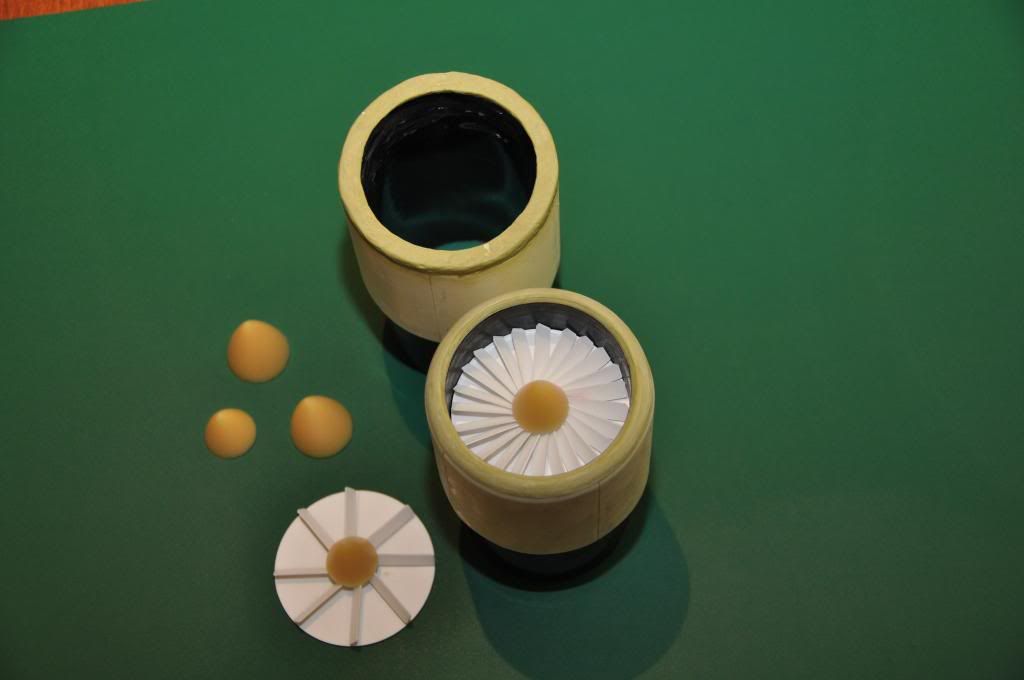
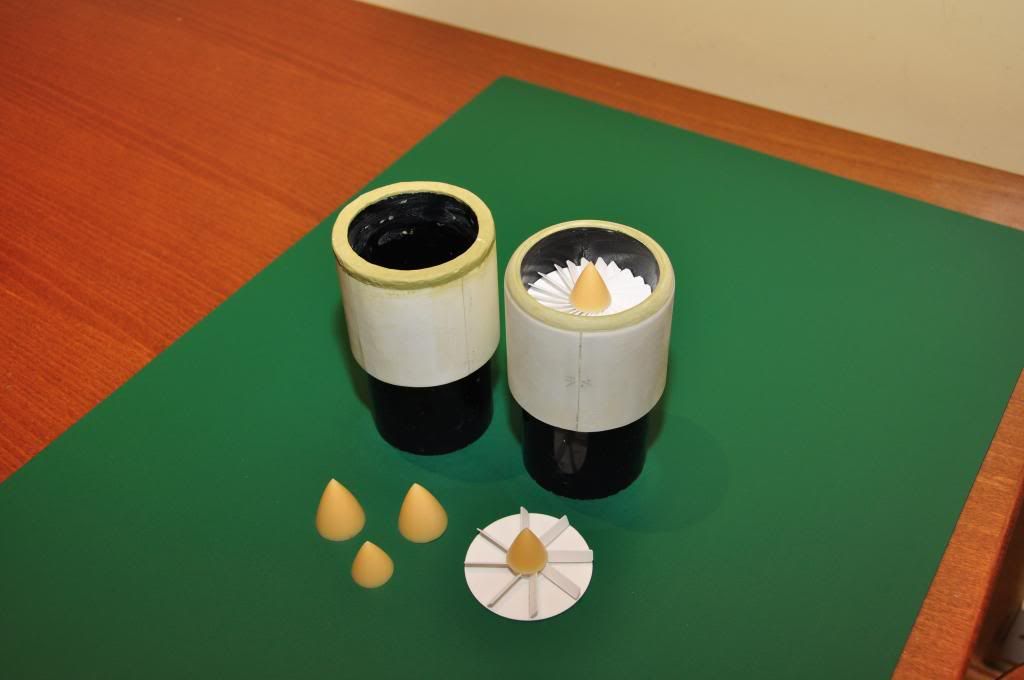
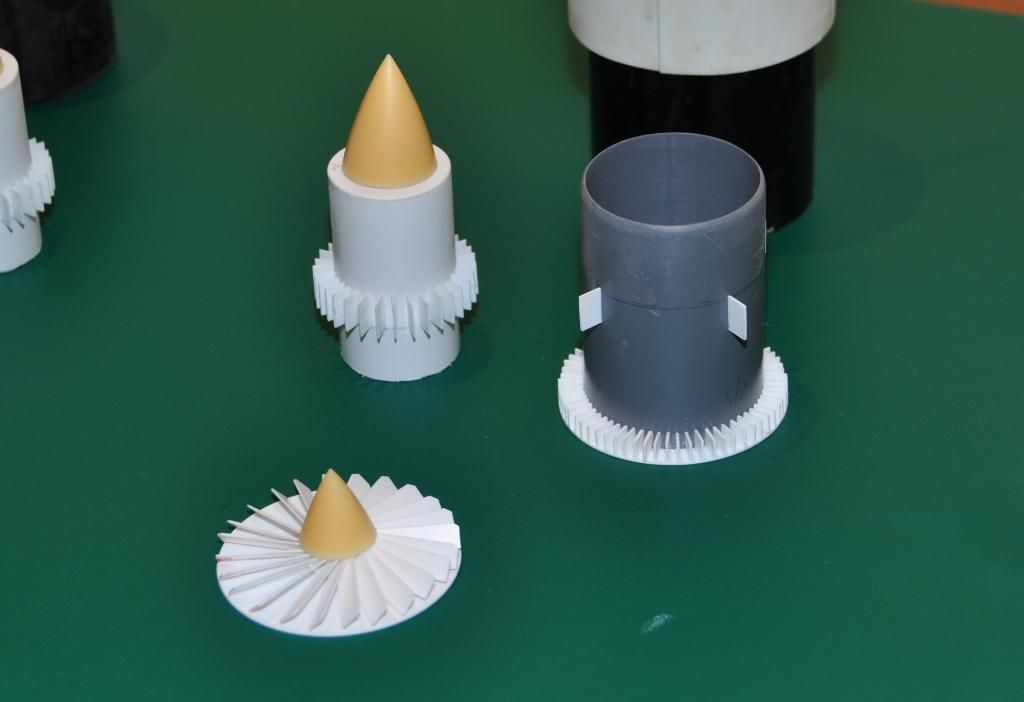
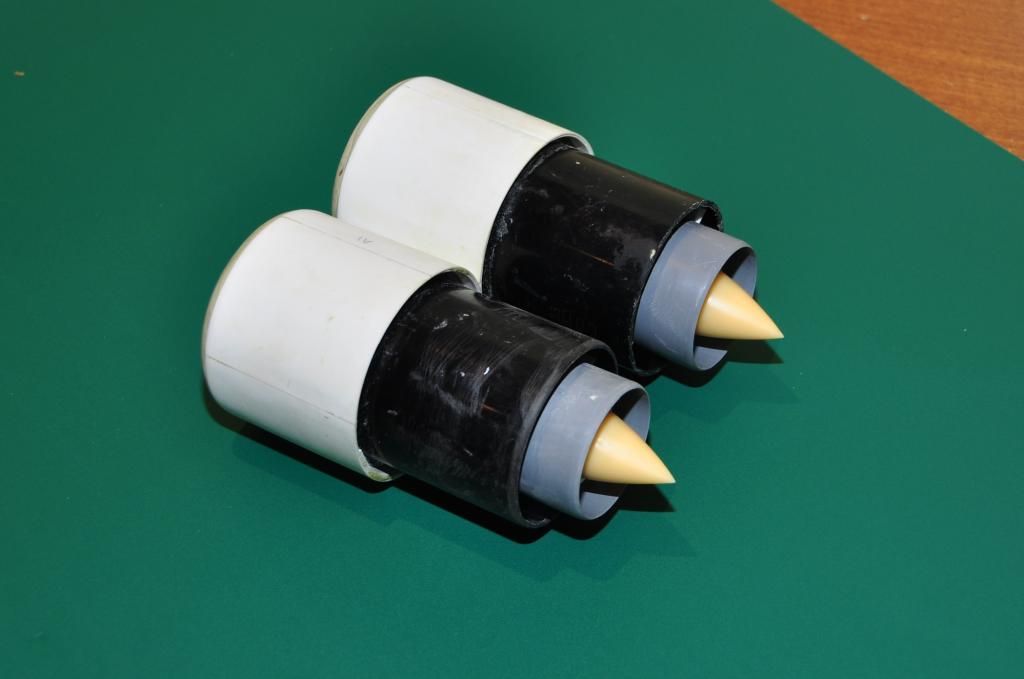
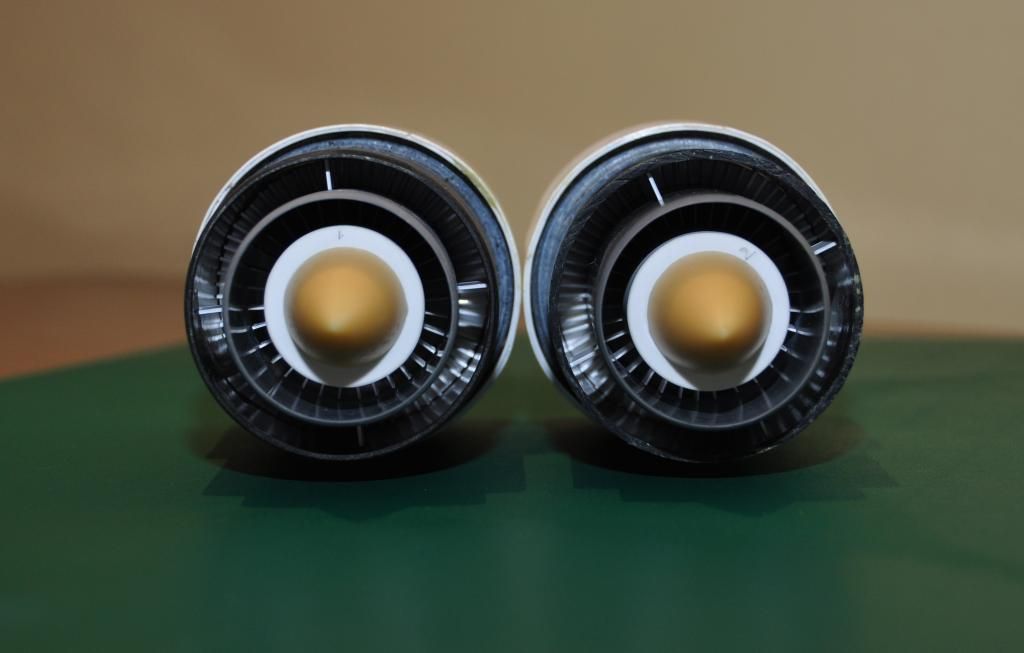
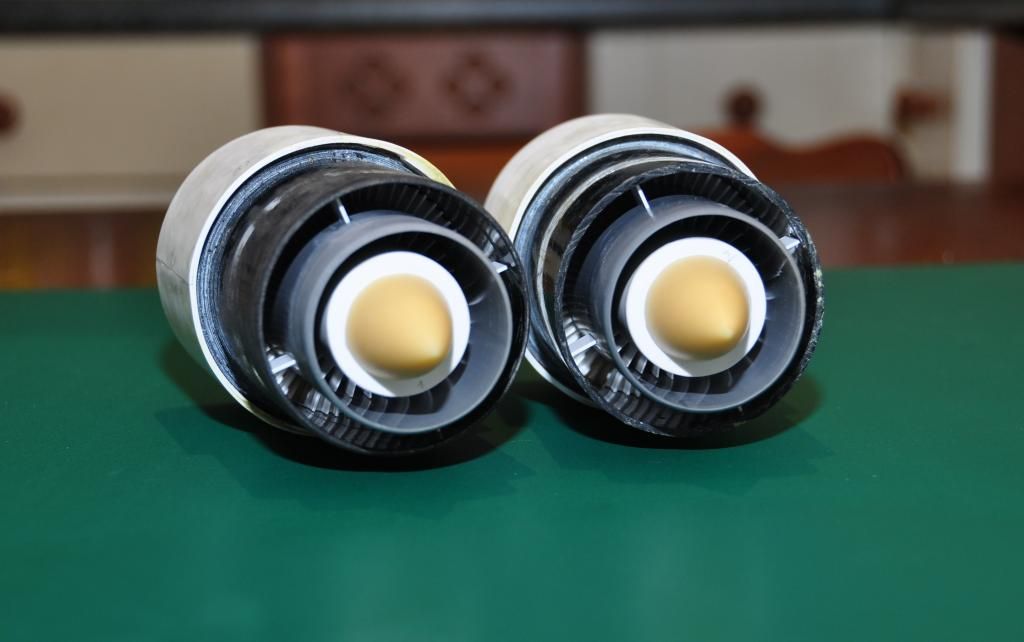
Here are the components of the scratch-built Turbo Fan engines. Almost 90% complete, I have to detail the pods down to the nuts and bolt. Here you can see the extensive internal components. This includes the inlet fan and cone, on the rear your can see the bypass flow through blades, in the inner chamber you can see the last stage compressor fins and the convergent exhaust cone. Each compressor blades and bypass blades are individually placed. As this has no afterburners, it need not to have variable exhaust nozzles.


You can also see here the rounded edge of the nacelle. Looks rough and needs finishing touches.


A closer look at the components. Here you can also appreciate the profiled edge on the exhaust.


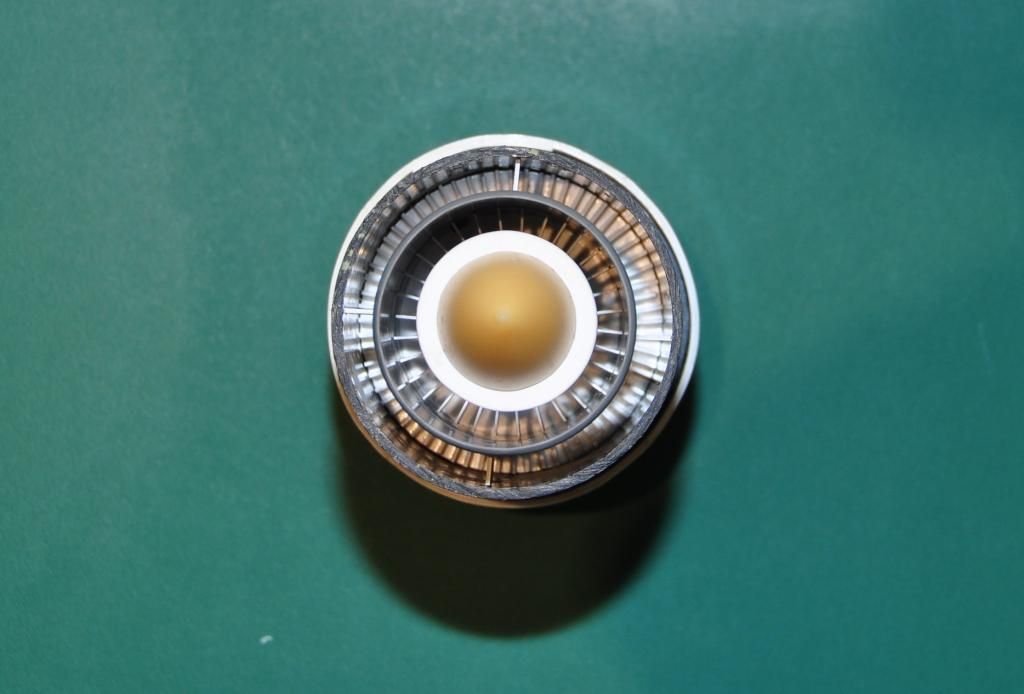
This is how it looks when view from the rear. All parts fitted. You can see the bypass fan blades and the inner last stage compression blades.


A view from the front, here you can see the intake compressor blades with the intake cone.


Rear view. You can see the exhaust cone.


Here is the left and right pods


Another view from the rear showing the bypass compressor blades and the last stage compressor blades.


Another view from the rear.


Almost there yet a long way to go.
I will detail the pods, complete all the shapes and finishing sanding. :slap
 
That's just crazy detail!
Reminds me of the engine panels on Joe vehicles you could remove so you can have guys doing maintenance work.:lol
 
Back
Top