Making your HT Pred 1 Perfect!

Collector Freaks Forum

Help Support Collector Freaks Forum:

This site may earn a commission from merchant affiliate links, including eBay, Amazon, and others.

Wor-Gar

Torturer of OCD
CF Supporter
Joined
Feb 3, 2006
Messages
90,088
Reaction score
26,928
Location
City of Angels
Since many of us are getting the PREDATOR (1) now, I thought it's time for a thread where all the customizing info can be horded.

Dedguy has some great fixes for the helmet. I hope many others will share the wealth.

Let the fixes rip!!!!
 
Great idea!

It kind of pains me to have to even think about having to alter a +/- $200 figure though.
IMO, at prices near the $200's they should have already been perfect. :(

Still love 'em even though I'm still waiting for mine to arrive. :D
 
I'll go first. Not a first time posting this, but it makes the most sense to have this here for those who want the lighting feature in their Exclusive mask.

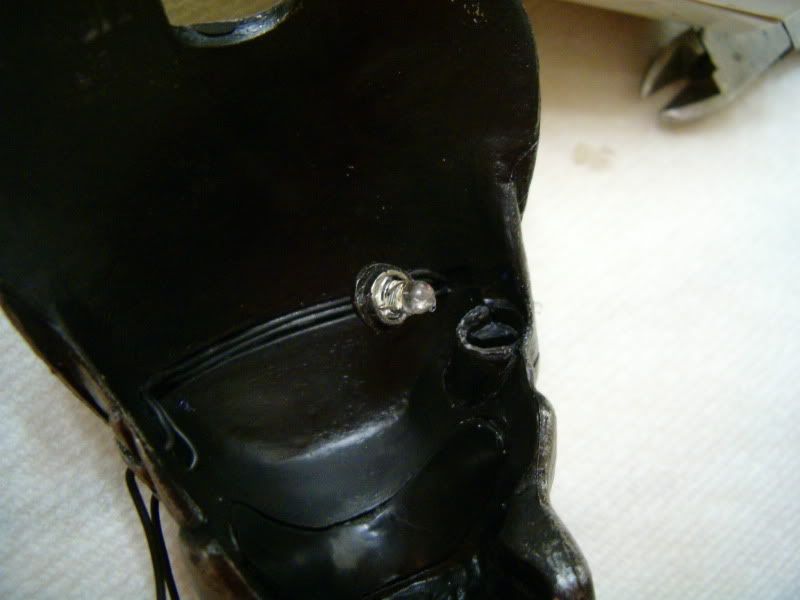
First, I heated the regular mask with a blowdryer (it's got electronics so don't use hot water) and pried out the plug that sits inside the back of the mask's targetting module. It has a bit of glue on it, but it comes out fairly easily. All that is in there is one LED.

HPIM4369.jpg


HPIM4370.jpg


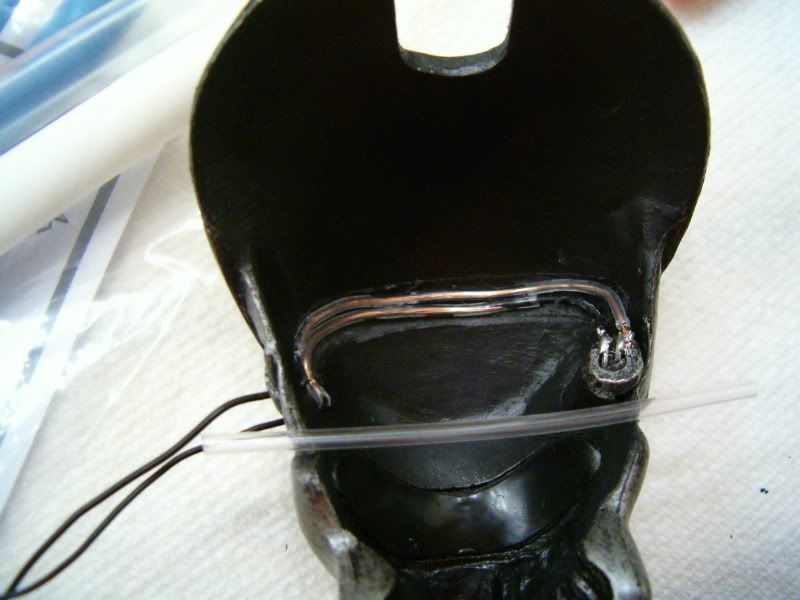
The wires are glued into a groove along the underside of the mask from the targetting module to where they exit through the holes on the left side to go to the power supply. Unfortunately the rubber insulation on these wires is very thin and the stranded copper wires pulled right through it when I peeled them out. If I had it to do over again, I would have used some sort of glue remover to free them.

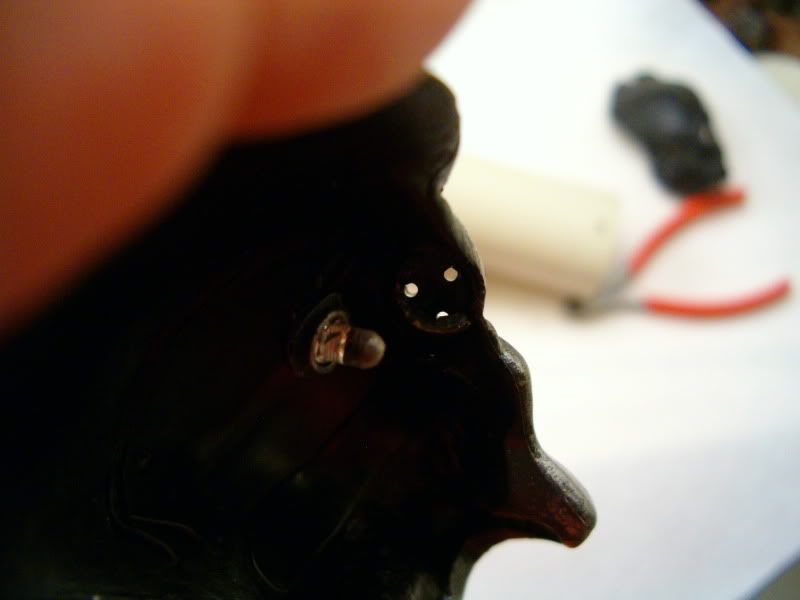
Once pried up, I had to cut the wires to get them out through the holes in the left side, so I cut it right at the back of the LED where it was soldered originally. I then fed the wires into the holes of the Exclusive mask.

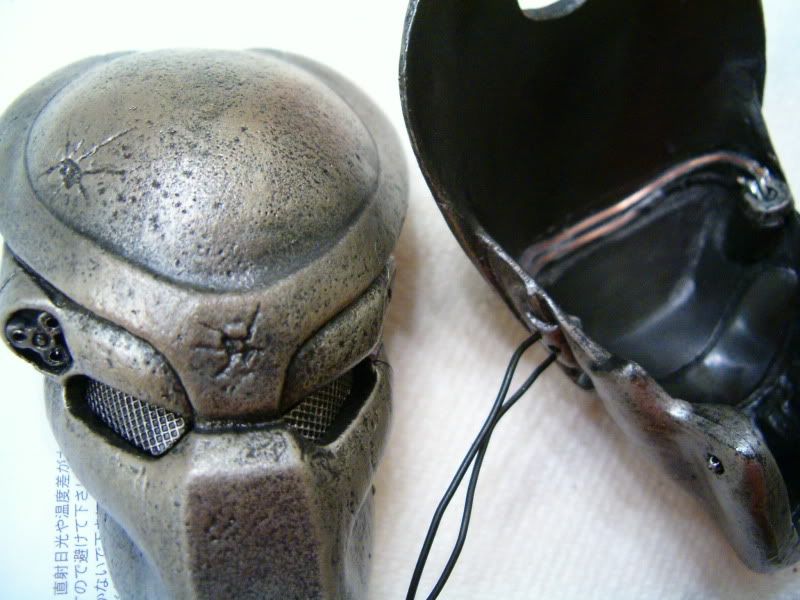
I didn't know where to find 30 gage stranded copper wire in my fairly new neighborhood, and Radio Shack didn't have it, so replacing the stripped wires was not an option as I was impatient to see this finished and get it displayed. So now I was faced with re-covering the wires. For that I used heat shrink tubing. I used clear so you can see what I did. Covering all exposed wire, I heated up the tubing until it gripped the wire securely. The wires were now at least twice as thick as before (yet still very thin), so I had to Dremel the groove a little deeper and wider in the underside of the mask so they would sit flush with the inside of the mask like they were in the regular mask. Fortunately the mask is pretty thick so you don't have to worry about unexpectedly finding your way through to the other side unless you go crazy on it. I just took it nice and slow, bit by bit until the wires sat inside properly. Then I plugged the LED into the Exclusive's socket with a tiny bit of glue (don't get any on the bulb or you may fog the glass and dull the shine), soldered the wire back onto the LED (make sure you don't bridge the very tiny gap between the connections or the circuit will fail), and glued the wires into the groove.

HPIM4374.jpg


I was able to accomplish this in 30 minutes, and I had to first take it out of the regular mask, so it is my opinion that there is no excuse for Hot Toys not to light the Exclusive mask for us, especially when we are paying $5 more for it. As a matter of fact, with the right parts from an electronics store, you could easily duplicate the lighting rig for the Exclusive without using the regular mask's parts. Hind sight is 20/20 they say. Oh well.

The groove in the underside of the mask is exactly like the one in the underside of all the AVP Predator masks, which leads me to believe Hot Toys initially intended to give all the AVP masks light up targetting, but cheaped out in the end for some reason.

HPIM4375.jpg


HPIM4376.jpg


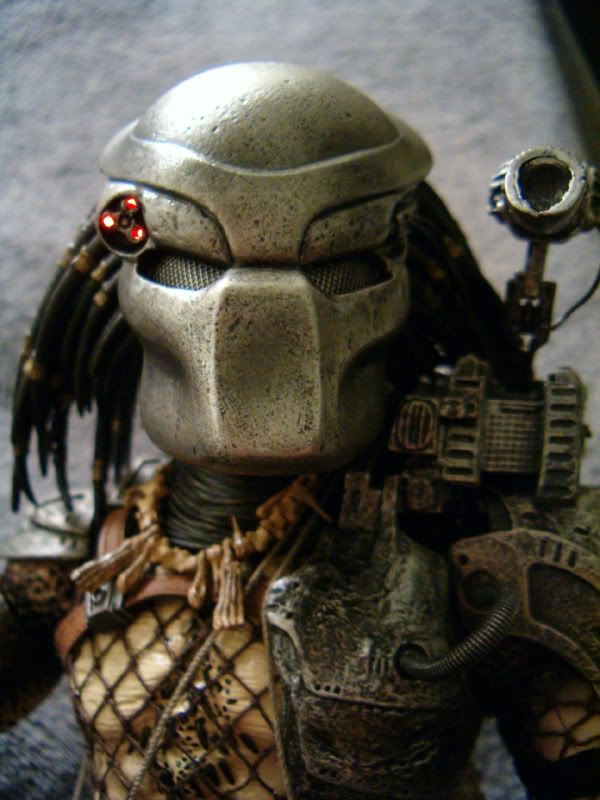
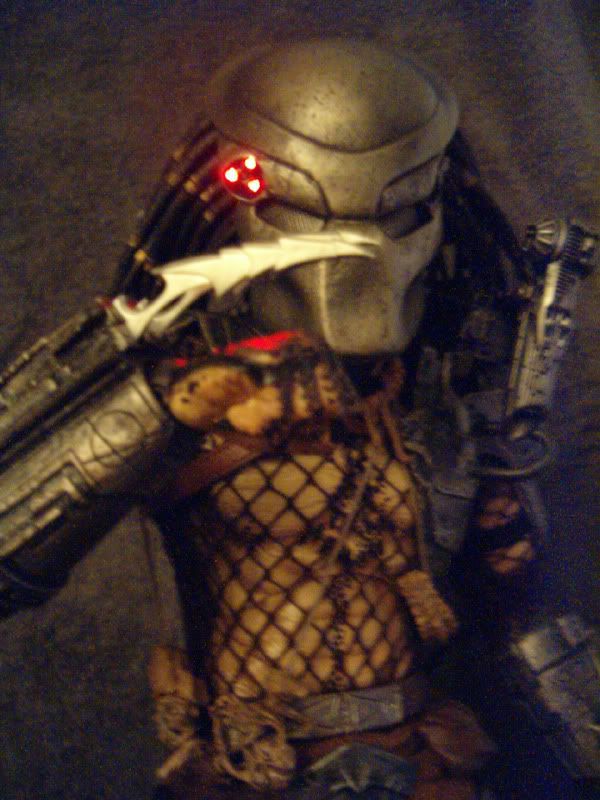
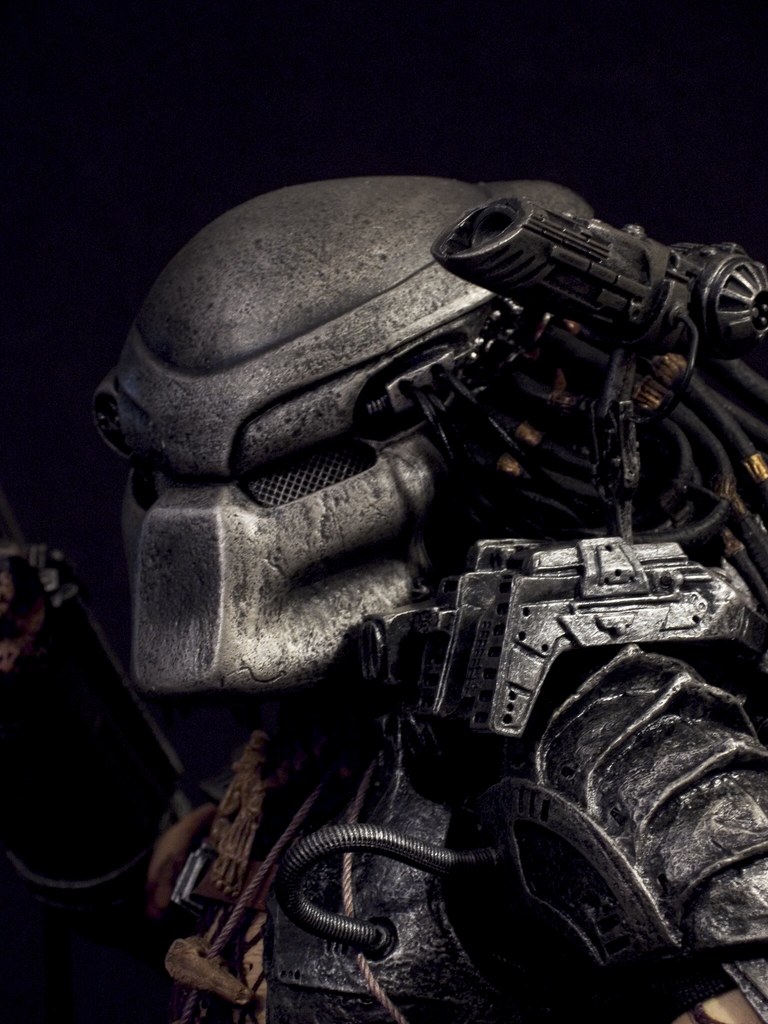
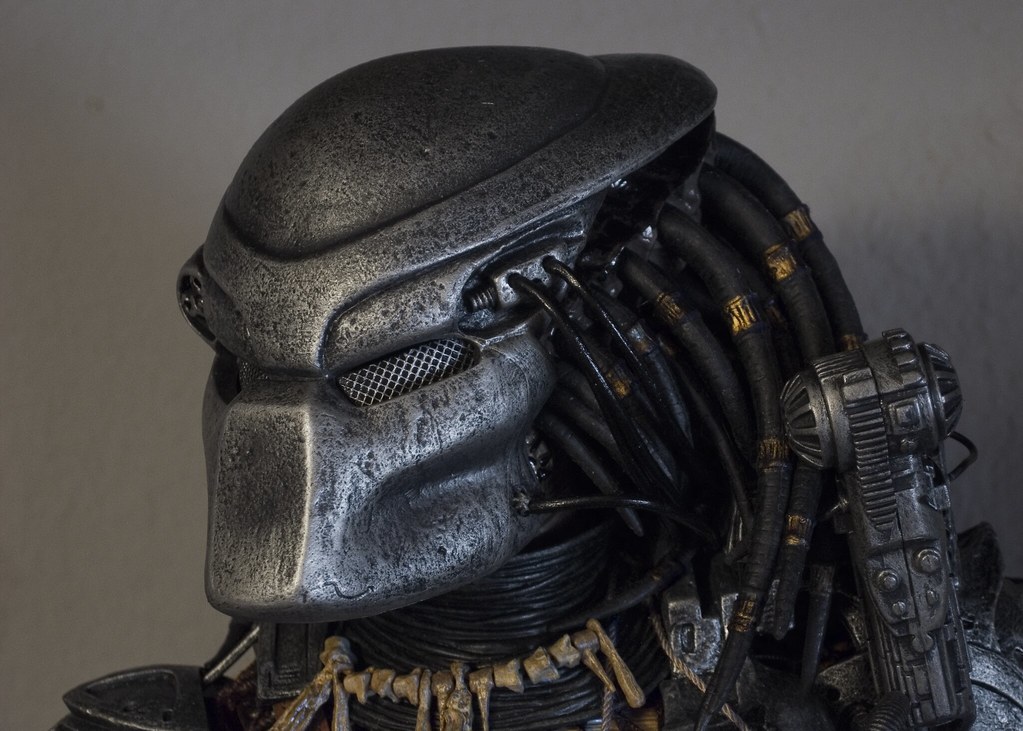
These were just quick pics I took to show the Exclusive in place and lit up. I hadn't settled on a pose yet, but will take new photos later when I figure out what he will be doing while he collects dust.

HPIM4378b.jpg


HPIM4382b.jpg
 
The first thing I did was try to put the helmet on without the mandibles to get the helmet closer to the head. No dice. Not only didn't get the helmet any closer it didn't stay on worth a damn. Eventually I did the following to my exclusive helmet.

  • Dropped it in near-boiling water and reshaped the helmet with wider cheeks and a more sloped back dome.
  • Dremeled out the cheeks taking out the sculpted bits meant to hold onto the mandibles.
  • Added carpet tape inside the helmet to hold it to the face.

Comparison of stock vs modded

3685283002_e9fa86cbc6_o.png


I the added leather lacing to the side of the helmet at the temple and the lower jaw (not pictured yet). There should be three tubes leading from the temple and one from that little nub at the corner of the jaw.

3685107303_f12213a173_b.jpg


I made a new more accurate pouch. Currently working on both a newer new pouch (I ruined the first when I took it off the old plastic belt) as well as a more accurate leather belt with the faux stitching.

This is the old bag on the plastic belt:
3682885450_6a46fea8ec_b.jpg


And this is the in-progress leather belt. Had yet to add the faux-stitching at this point. You can't tell in this pic as I cunningly placed it back together for the pic but I tore the far left strap.
3694805601_6c689dea6c_b.jpg


This is the reference I found for the belt/pouch. This is the actual film-used suit so the pouch is falling apart a bit as is the belt but you can clearly see the three straps as well as the holes punched in the belt. The straps on the chest have similar faux-stiching. The next thing I need to do is replace the chest straps.

pred_pouch.jpg
 
All tubes now connected:
3696812018_637d12a112_b.jpg


New leather belt and new pouch.
3696829172_e66df6c285_b.jpg
 
You guys do some impressive upgrades. I am too chicken to try and modify my Predator.
 
Hell yes, great job there attaching a tube to the jaw, Dedguy.
 
I second that. According to what he does in the movie to remove the mask, there should even be another one on the other side of the mask too, but there doesn't seem to be any place for it to connect.

Now I want to modify the wires from the helmet to go into the front of the shoulder cannon mount where they are supposed to go, and still somehow reach the power supply. I'll work on it when I have some projects out of the way. My biggest concern with that is that the helmet will no longer be removable as the wires will be locked into the helmet and the shoulder mount.

I like the fact that the wires going into the mask are really powering the targetting, but I think the trick will be to hide those and replace the visible wires with non-functional wires that can stay on the Pred with the mask off. Of course non of that will matter when Hot Toys releases the second, battle damaged version without the shoulder mount on it.
 
Mine are currently unattached to anything and just are hidden back in the dreds.
 
'fraid not. I don't have a lot of time to work on hobby stuff and I'm terrible at shipping things.
 
das coo bro. i understand. in the meantime i'll live vicariously through your pics, and maybe attempt some of it on my own figure.
 
Damn I wish I could gather up enough courage to work on my P1 like you guys did. I really want to do the 2 bio mods. Maybe someone will take a commission? :D Surfer?
 
Great stuff -- keep the tips coming. I'm sure as more people receive this figure this thread will become very useful.

And don't be afraid to post simple fixes too. Anything that will make the figure more accurate is welcome.
 
Back
Top