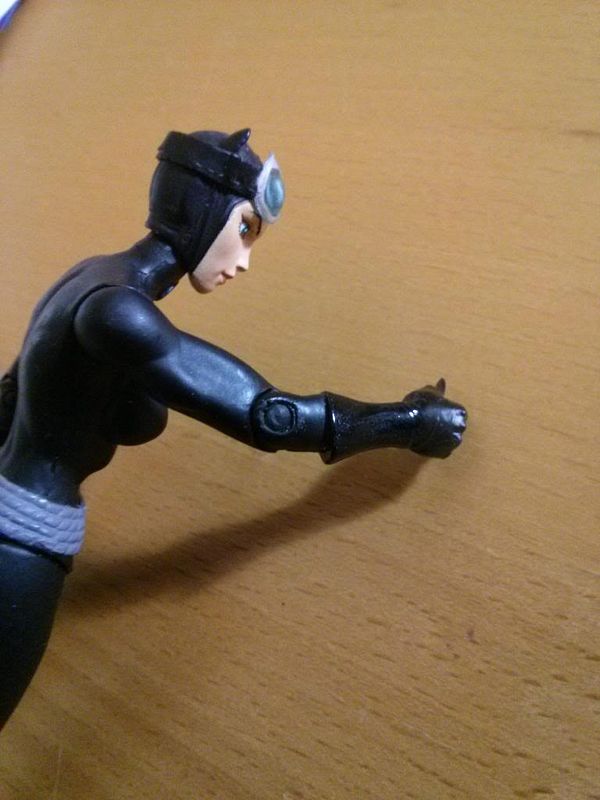
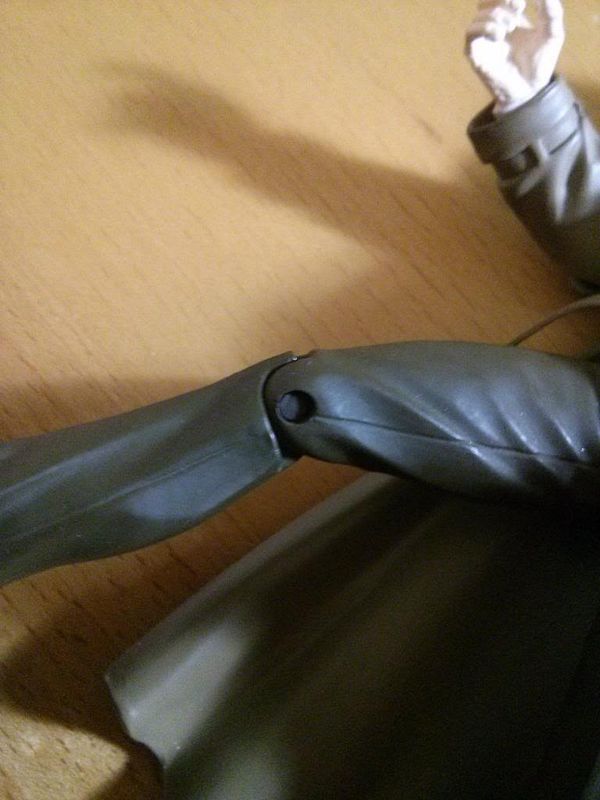
Hi all,
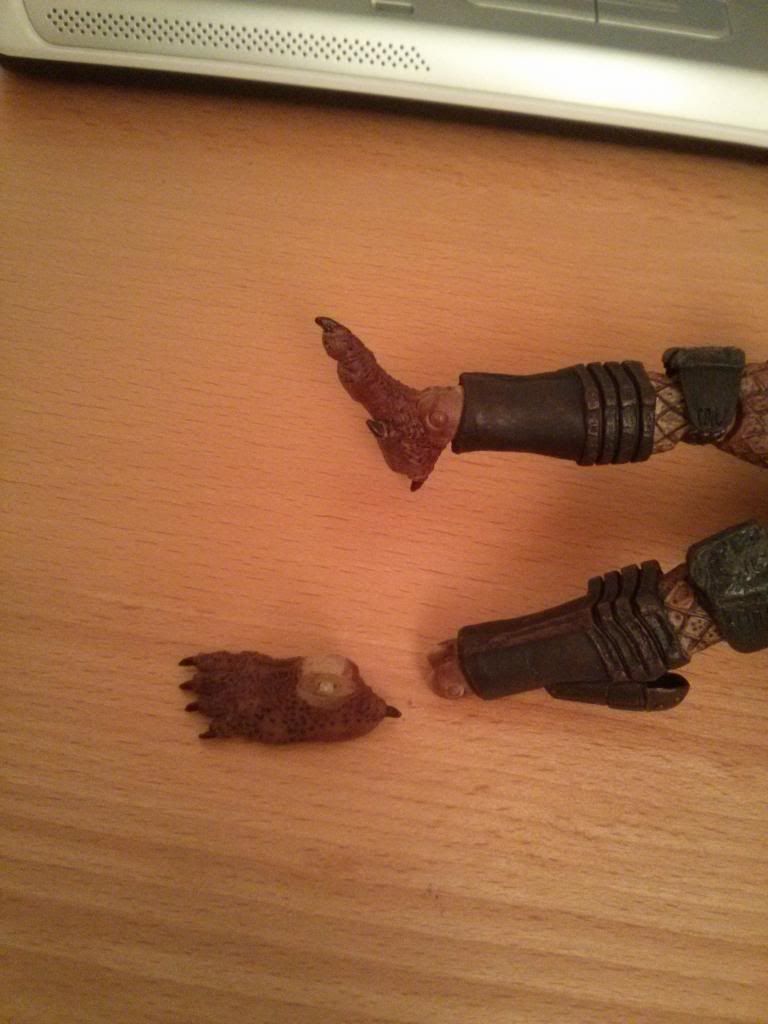
I am not sure if this has been covered before but I have had difficulty before in finding ways to fix broken joints on Mcfarlane and DC Direct figures.
Most of you probably had the misfortune of breaking your figures even with careful handling. The fault is most of these pegs that holds the joints disintegrates over time. Mcfarlane Toys and DC Direct are the main culprits.
I came up with a solution and want to share it with you all so you can revive your broken figures. The best part is you don't need any GLUE! You can pretty much retain the mobility as if it was brand new.
The process is simple but requires some good control and a lot of patience to perform this fix.
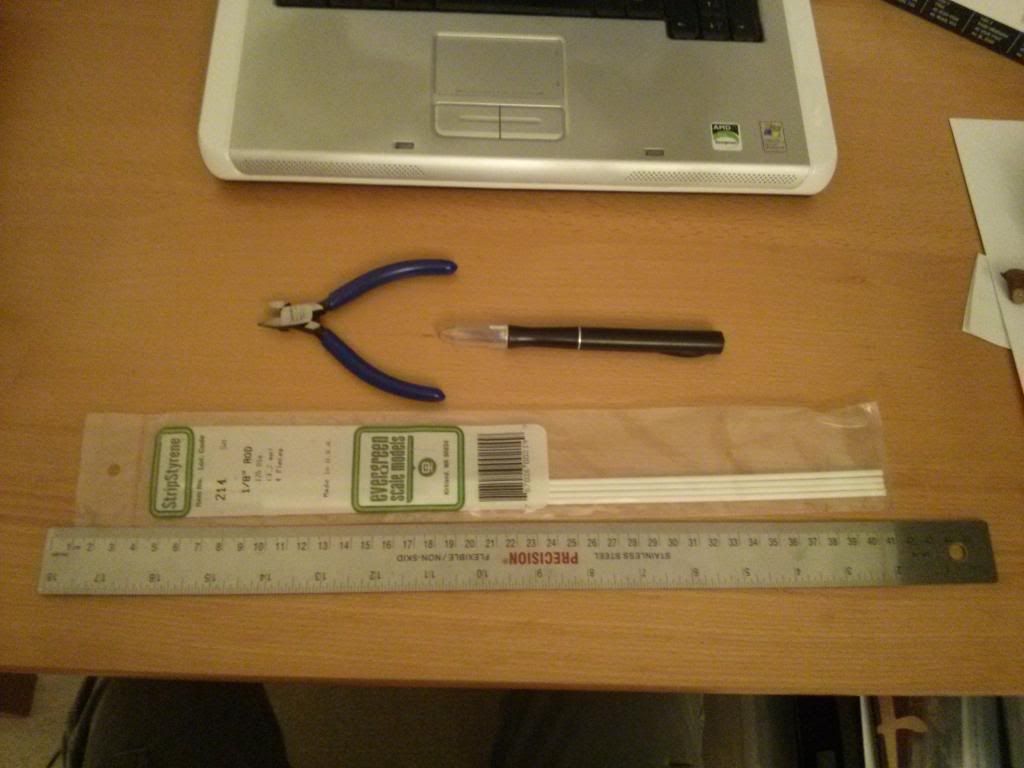
The tools that you will need are:
1. Ruler
2. Cutter
3. Styrene rod 1/8"
4. X-acto knife
5. Paint for repainting the new part
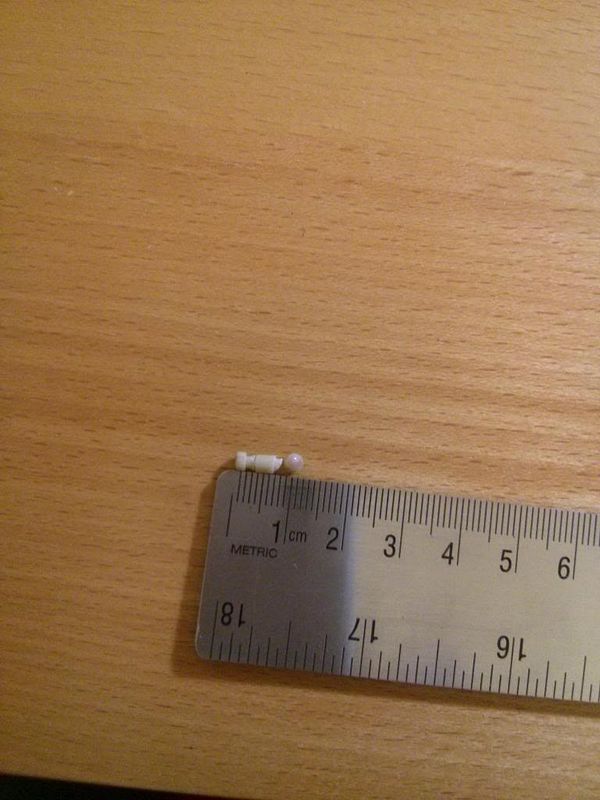
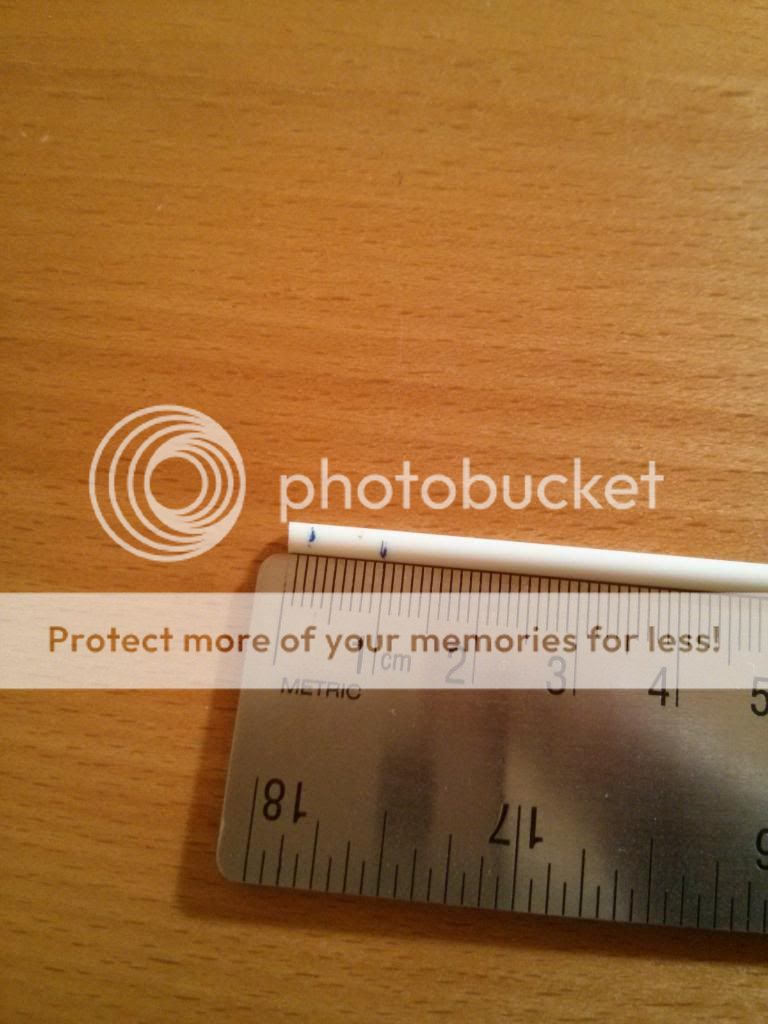
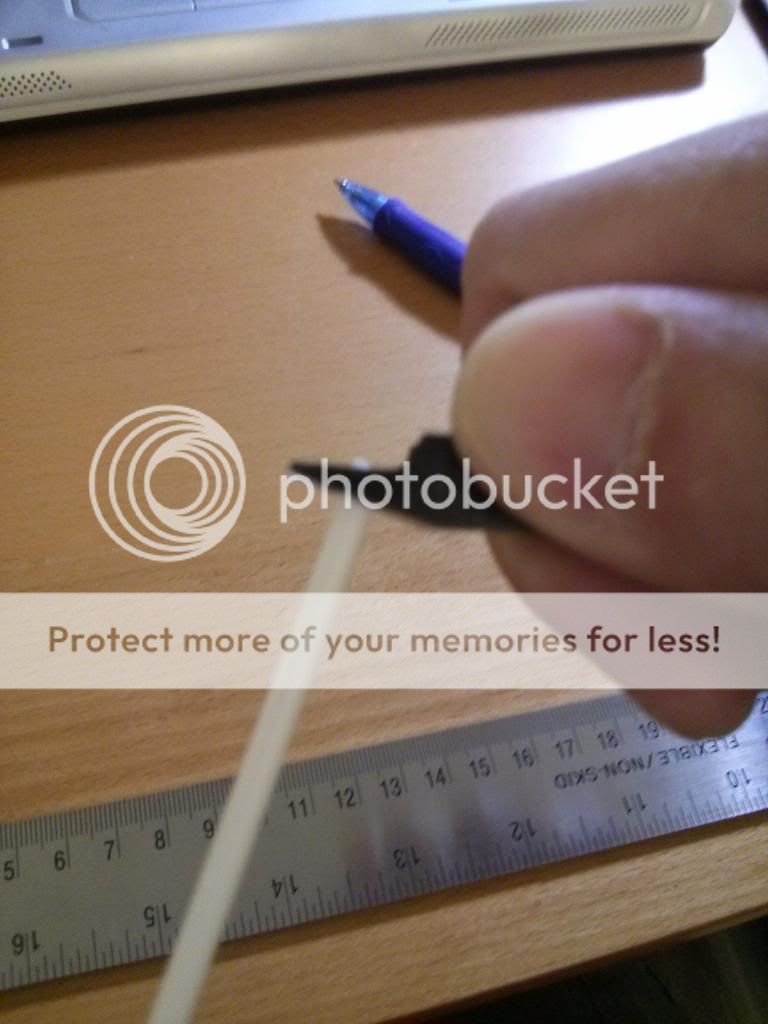
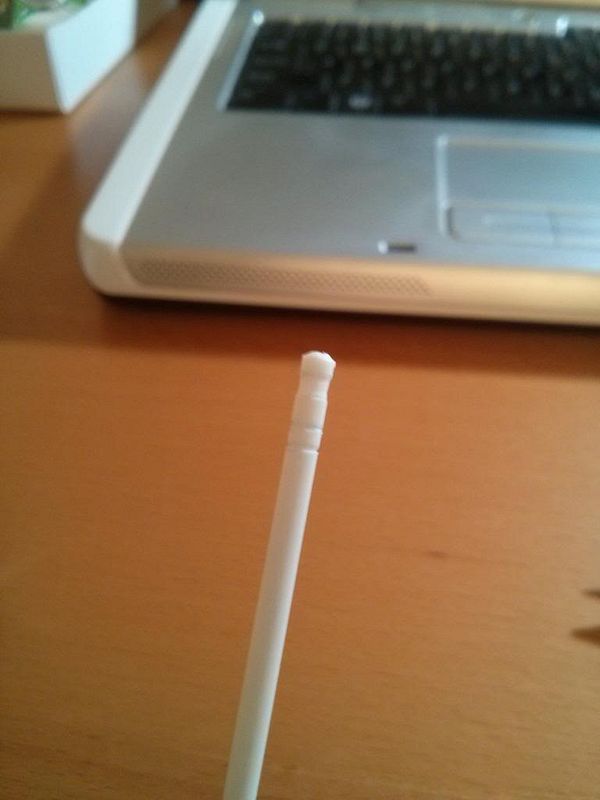
1- Measure the broken peg and find the segments that are thinner than the end points. Mark these down with a pen/pencil on the plastic rod.
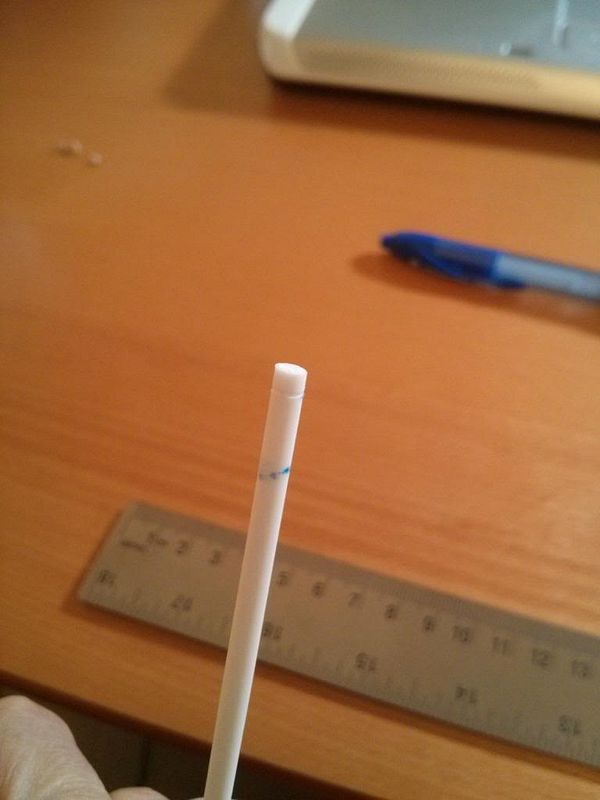
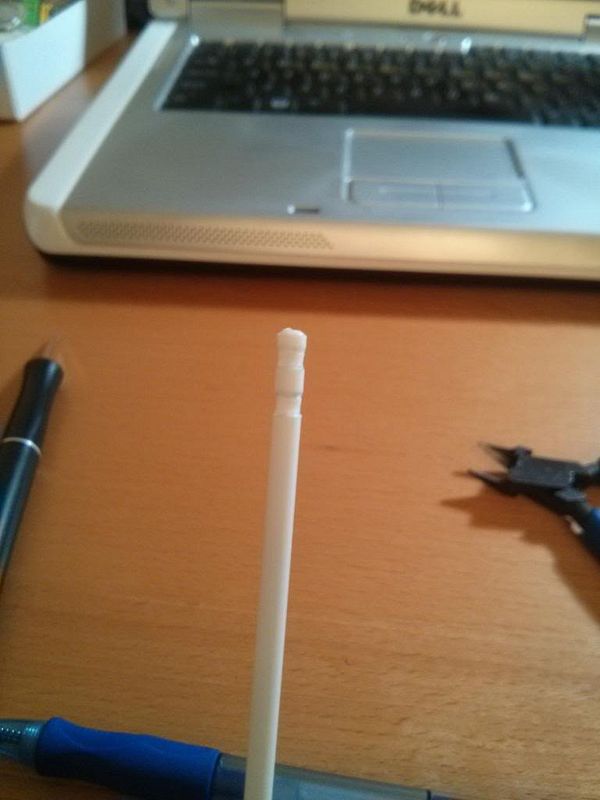
2 - Use a modelling cutter carefully align the knife portion with the pencil mark. Gently press it so that it grips onto the rod. Next you want to use your other hand to gently spin the rod while the other hand is gripping. Make sure you don't cut the actual part. What you want to achieve is create light perforations and grooves with this motion.
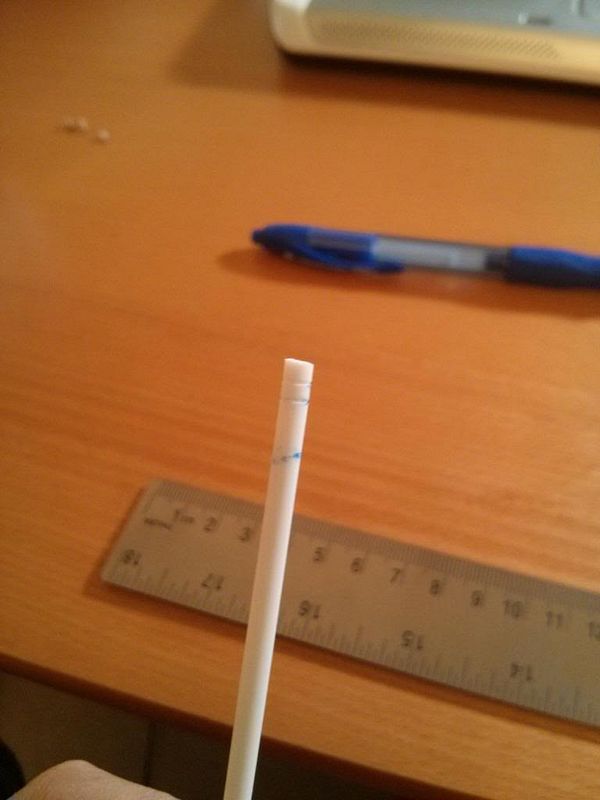
3 - Create the break, second and third grooves by repeating the step above.
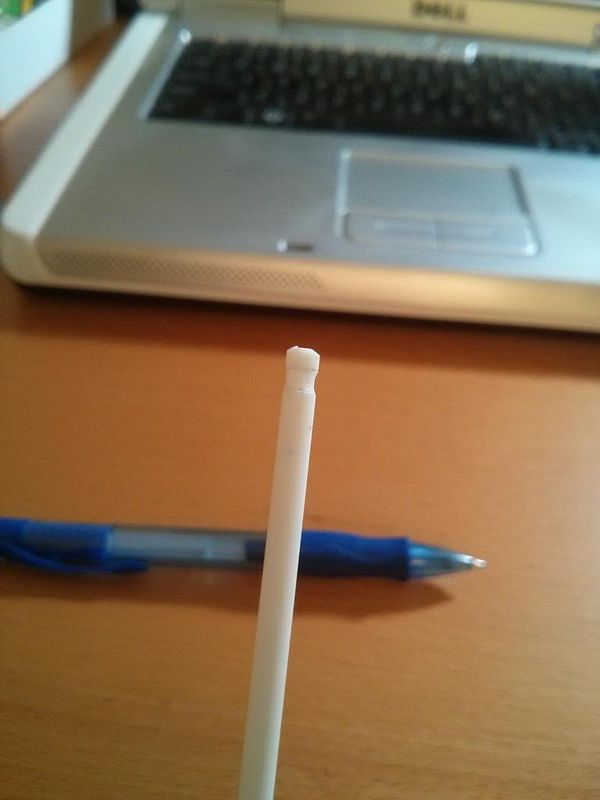
4 - Take an x-acto knife and carefully scrape the plastic off between the two groove points. Don't carve too much out. The key is lightly scrape it off so you can monitor your progress.
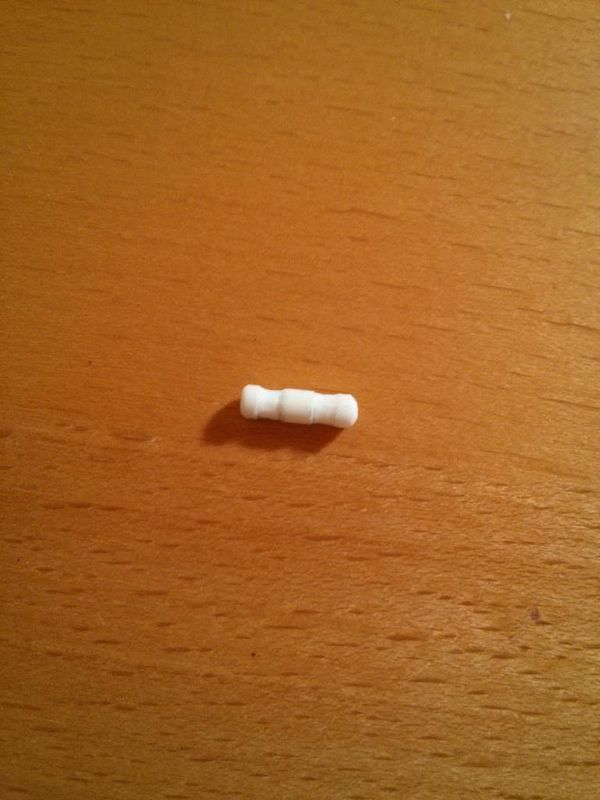
5 - Cut off the new sculpted part from the main plastic rod and continue to round off the end points by scrapping with the x-acto knife.
6 - Warm the joints up with hot boiling water as this will soften the plastic, making the peg to go in easier. You might have to try several times to dip in the parts in hot boiling water just to make the peg in because the fit most likely will be very tight so this requires a lot of patience. Don't try to force it in too hard because you might risk injuring your fingers and breaking the newly carved peg.
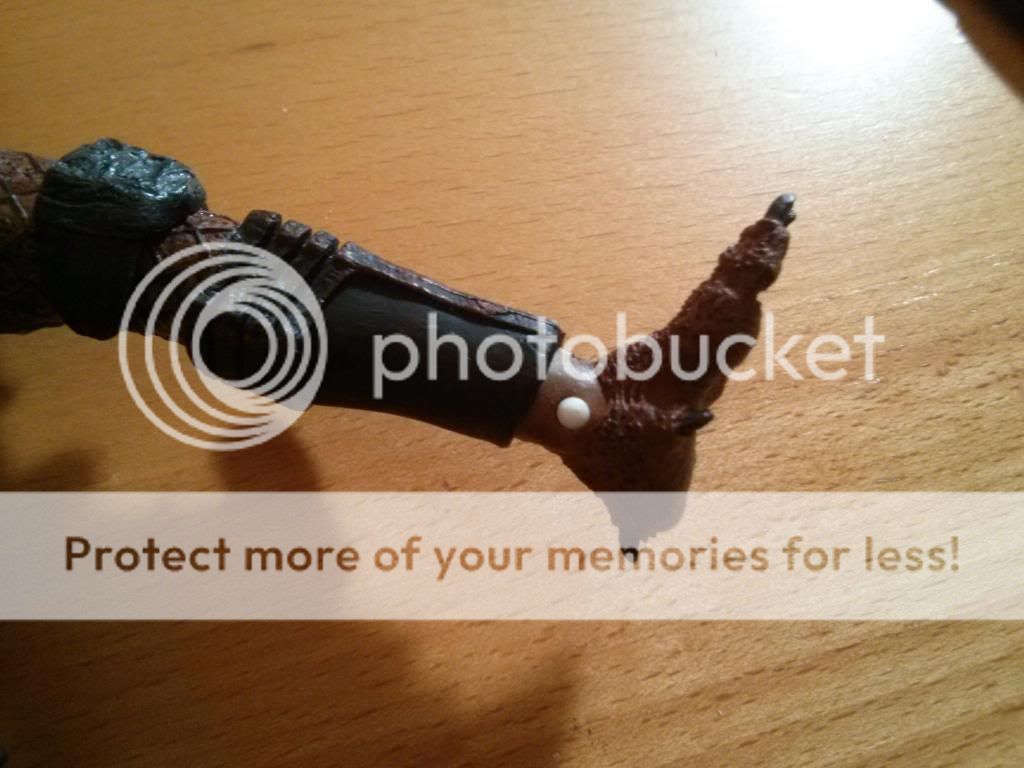
7 - Once in you can repaint the new peg with acrylic paints. I just used citadel paints on my figures.
Now your figure is like brand new! No more straight to the trash bin routine!
Last edited:


