EndoT800
Freaked Out
- Joined
- Apr 14, 2011
- Messages
- 140
- Reaction score
- 2
Season’s Greetings!
He’s in town for a few days to kill and I’m not talking about Santa!
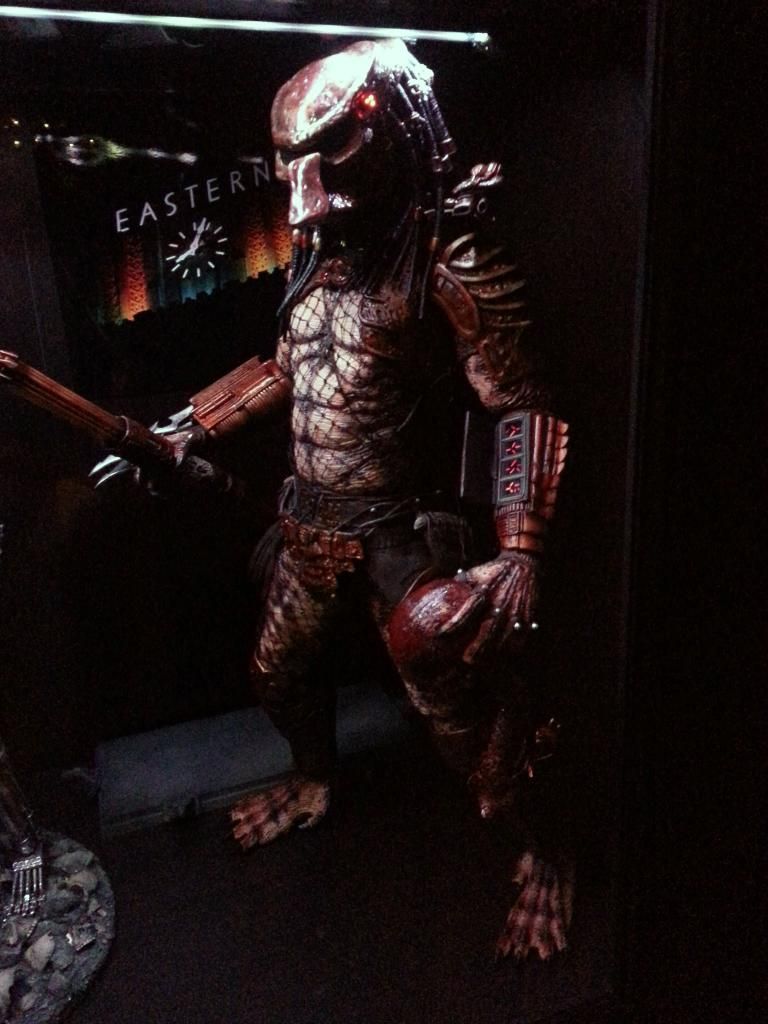
I was finally able to wrap up my Custom Neca 1/4th Predator 2 makeover. As you may or may not remember, I did a similar makeover to the original Neca 1/4th P1 last year.
I originally planned to do a host a various mods when I first heard about the release of the P2; but since it came out late in the year and a combination of the holidays & winter cold meant that I had to scale back some of the mods and finish this custom quicker than usual.
First off, I took it apart and gave it a fresh primer coating. Once the primer was applied, I was able to see the full potential of this figure. It has such nice sculpt that gets lost with the basic factory paint. Knowing this meant that applying a nice custom paint job would bring out the figure’s hidden details even further.
For this Predator, ball joints are used for the upper top of the legs. This gives it more flexibility but I didn’t like the way the exposed ball joints looked. Knowing that it would be displayed on an upper shelf in my cabinet, those ball joints had to go. I couldn’t remove them so I did the next best thing, hide them.
I ended up making a flexible skin layer to cover them up. Once applied & painted, the latex skin layer blends in quite nicely with the rest of his legs hiding the ugly ball joints while still allowing pose ability. I was going to do something similar to his rear end, but scrapped it since he would be viewed 99% of the time facing forward so I ended up leaving his *** alone.
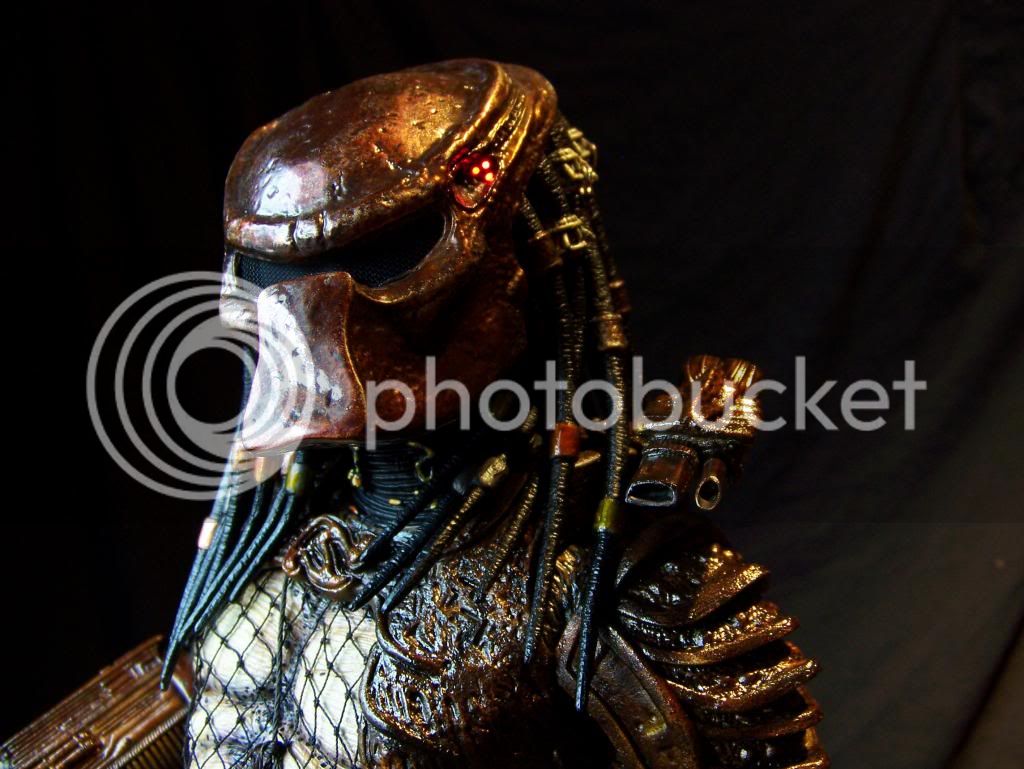
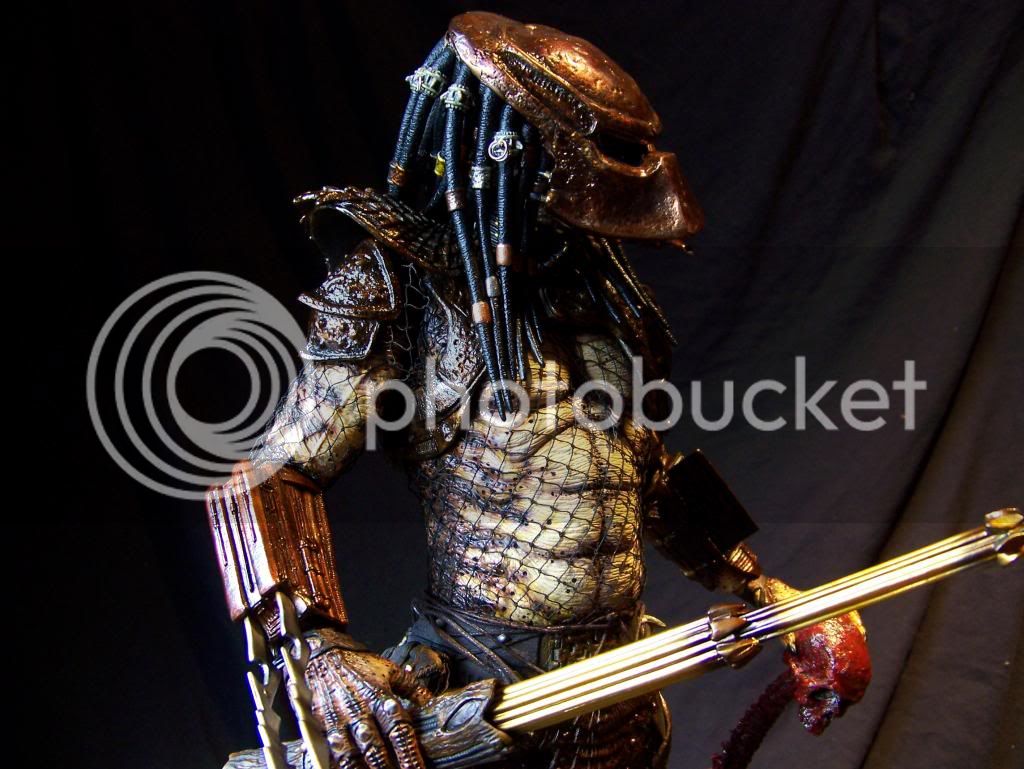
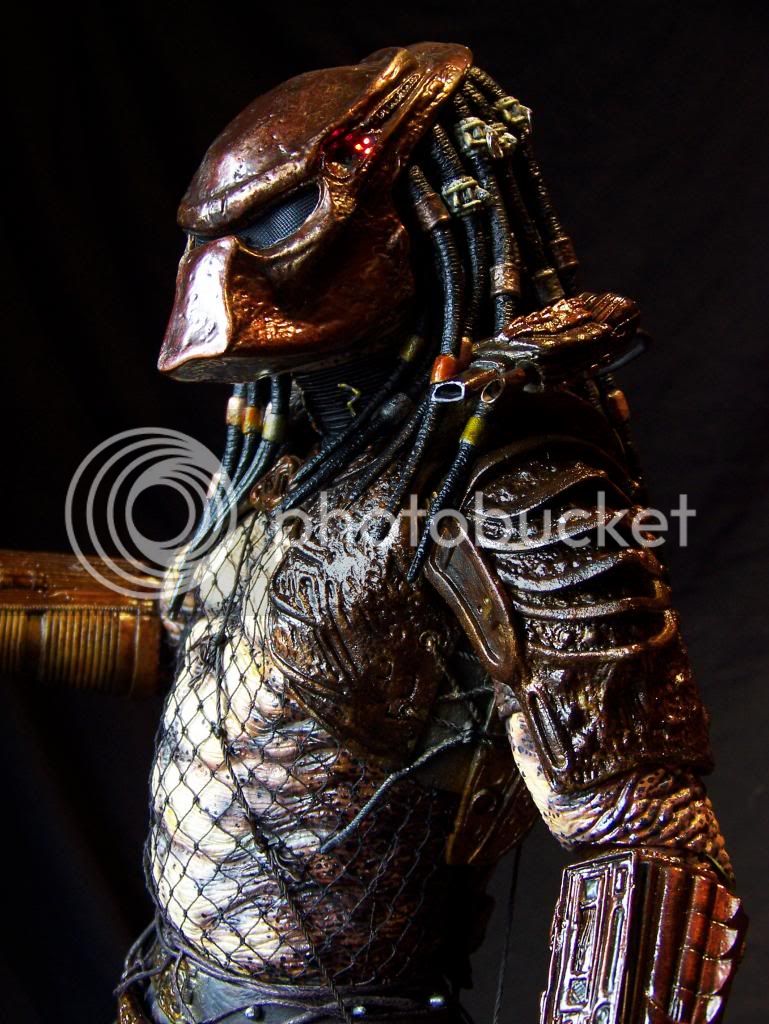
The Bio-Mask shape & design looks great as is; unfortunately the surface texture is not to my liking. I think it looks a little too pitted for me. I ended up making a spare Bio to try out a few things; I found that the outcome of the spare Bio was acceptable so I decided to use it instead modifying of the original Bio-Mask.
Next up was to drill out holes for the missing lasers lights & air hoses. I then added an actual visor mesh screen along with the missing air hoses on the opposite side which are not too visible.
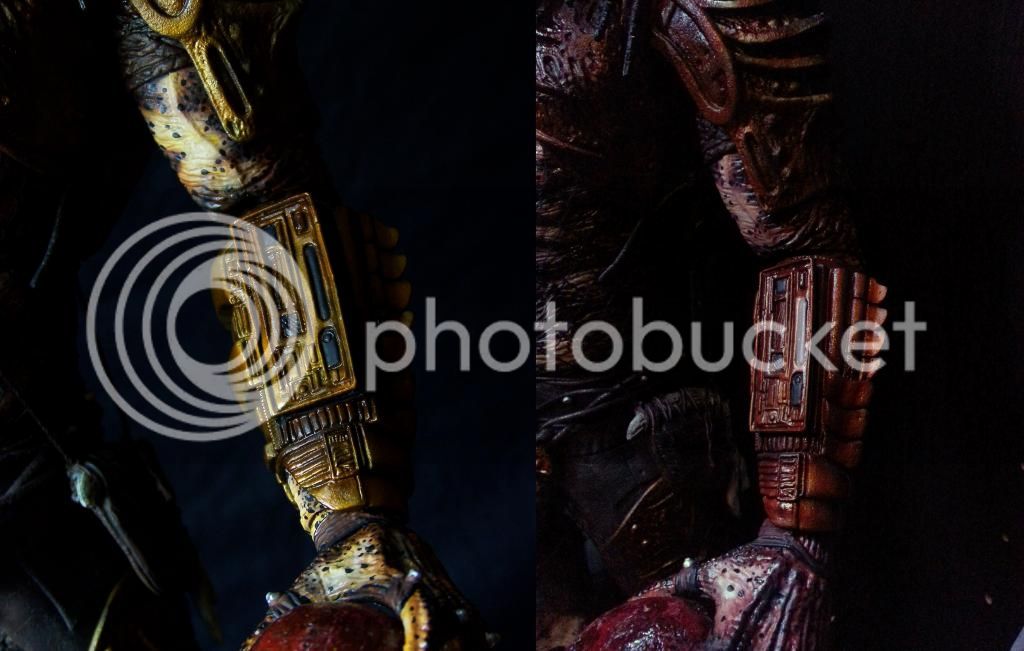
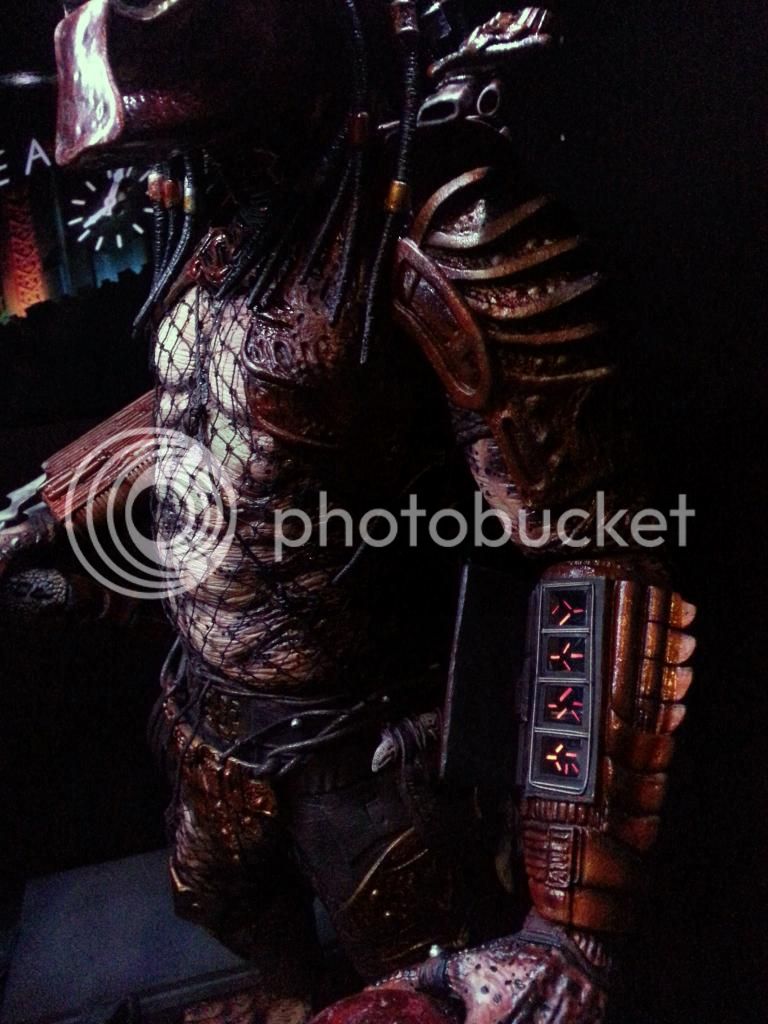
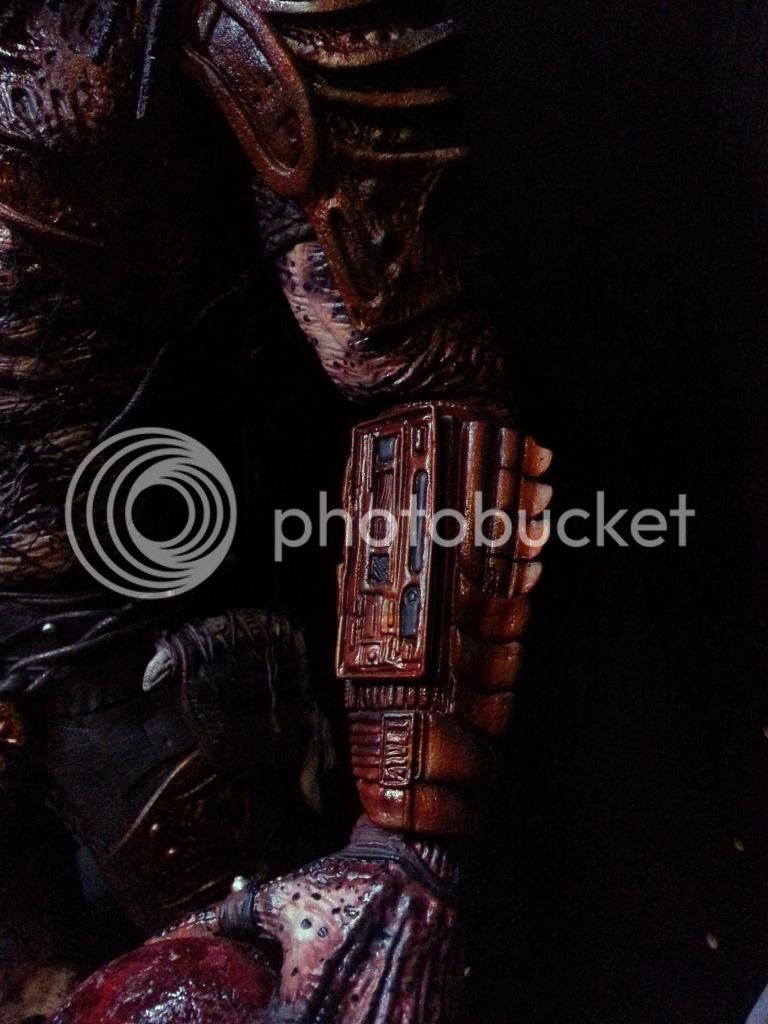
For the Wrist Computer, I originally had two mods planned and settled on just one. I created an operable Computer Door Panel that open & closes. Once opened, the computer door gives access to the illuminated predator symbols. This mod gives it a nice animated touch. I then added real metal framing to outline interior of the panel itself along with each section of the symbols.
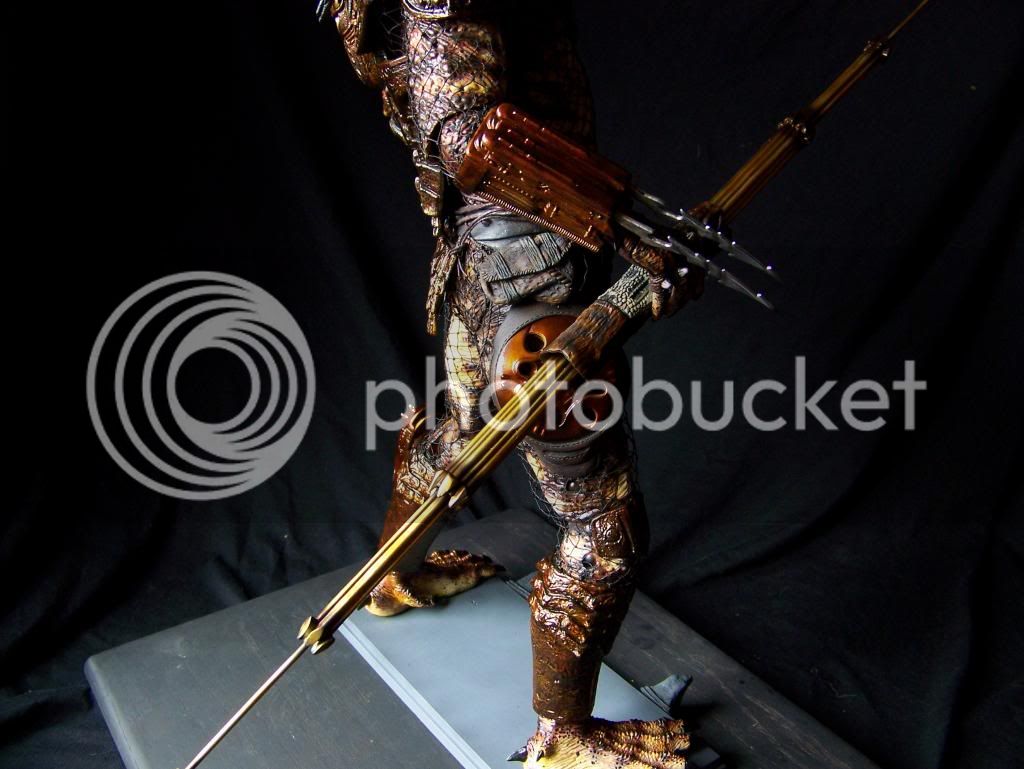
The shoulder cannon was another item I wanted to have animated. I added an LED light to simulate a laser blast. I ended up replacing the plastic right shaft of the cannon with a reshaped metal brass tube which I think looks better. I then added a part to the top round section of the extension arm to give it a bit more detail.
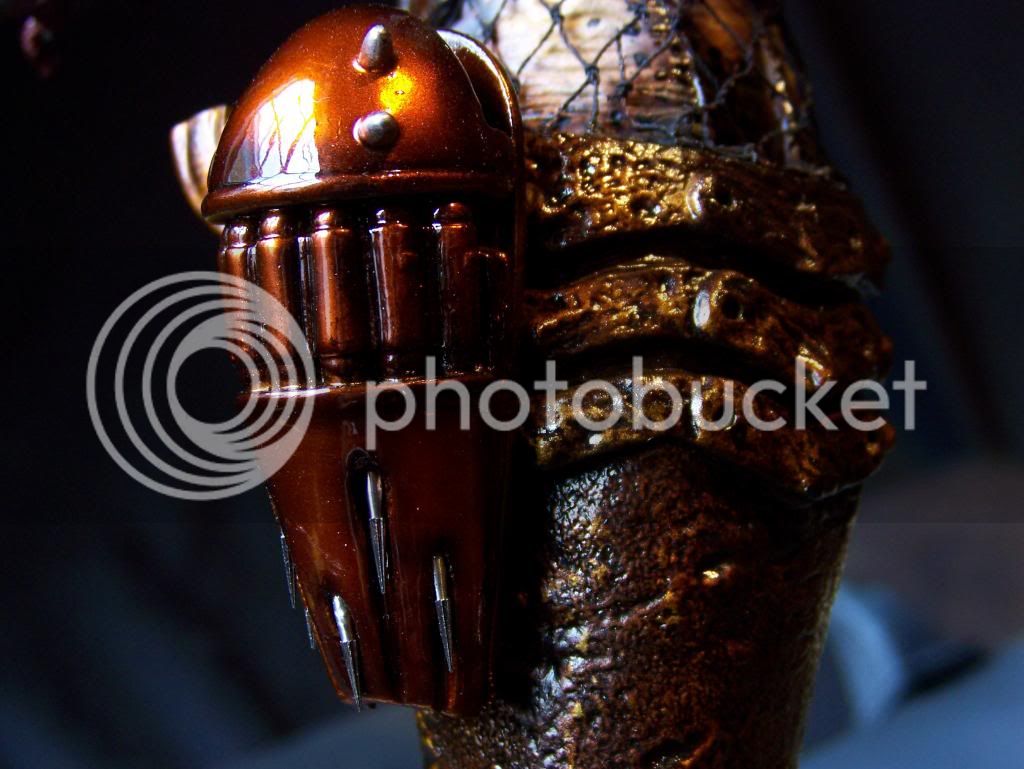
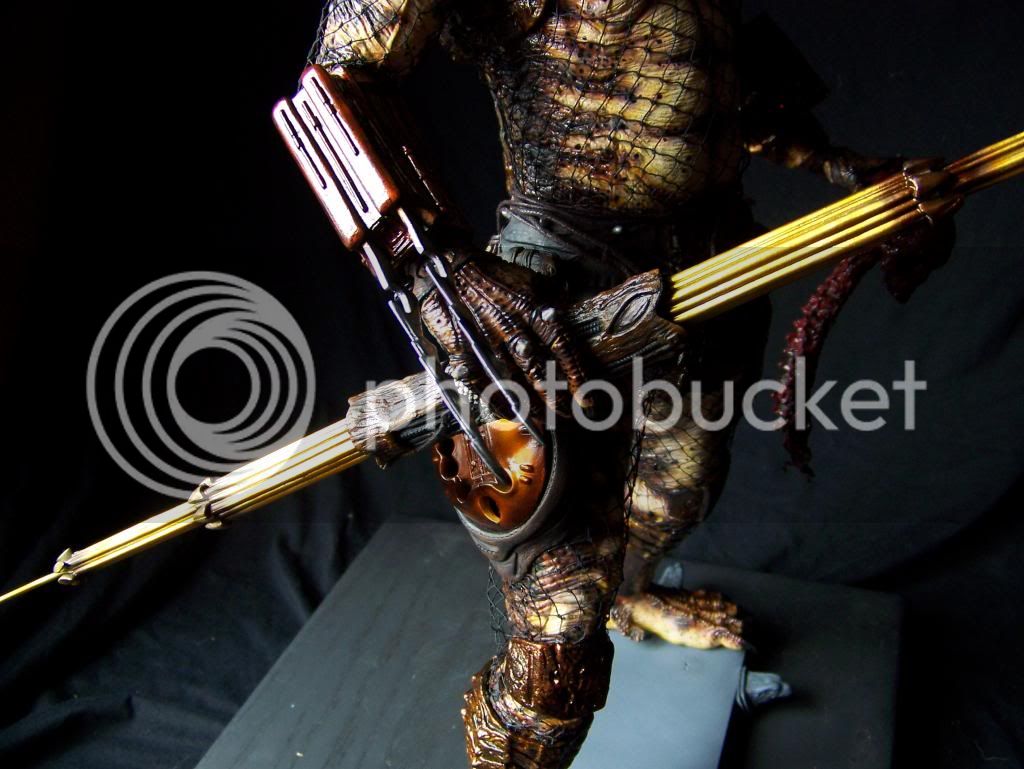
For the Dart Net Gun, I removed the existing plastic molded darts and added some real very lethal stainless steel metal harpoon darts. To say these are sharp is an understatement. These metal Darts give the gun a nice visual finish. I decided to leave the darts in their stainless steel natural color rather than painting them. I also scratch made & added the missing trigger for the net gun. I was going to make it detachable, but one would have to be very careful with handling it with those razor sharp darts so I left it fixed.
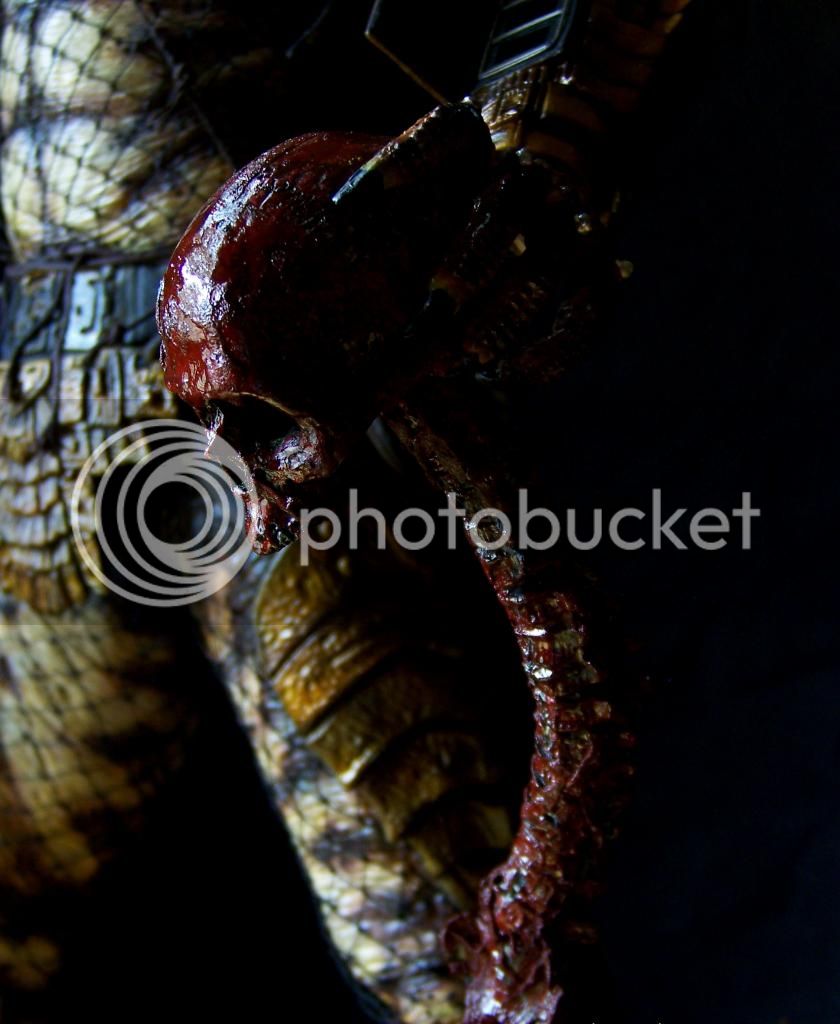
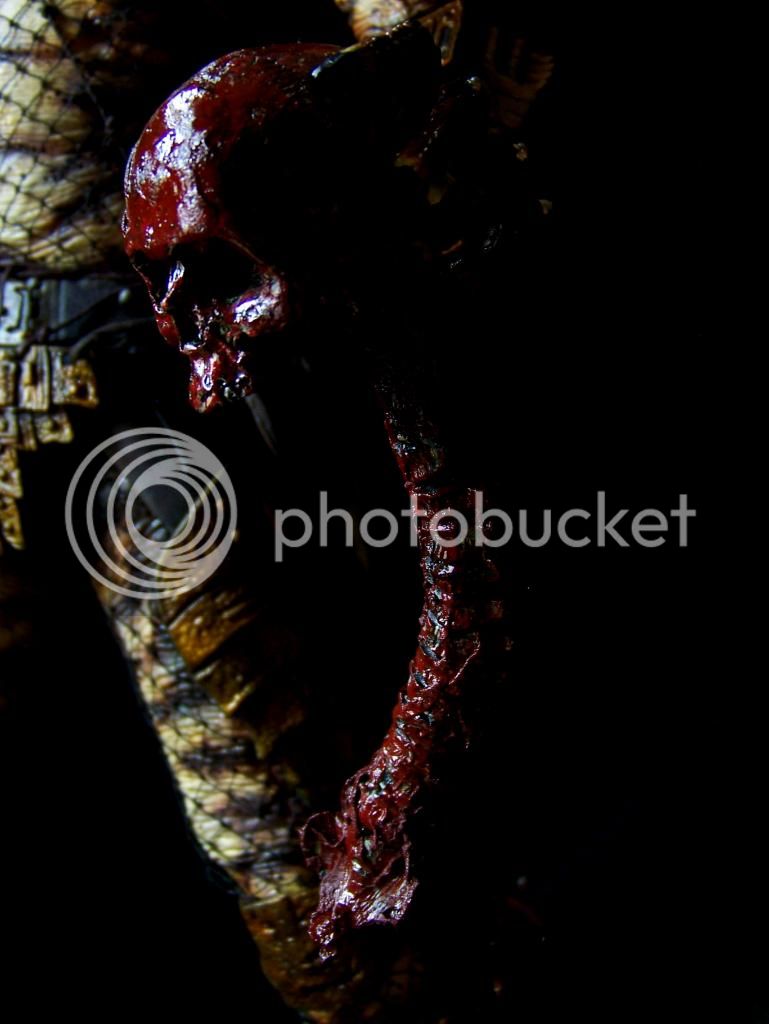
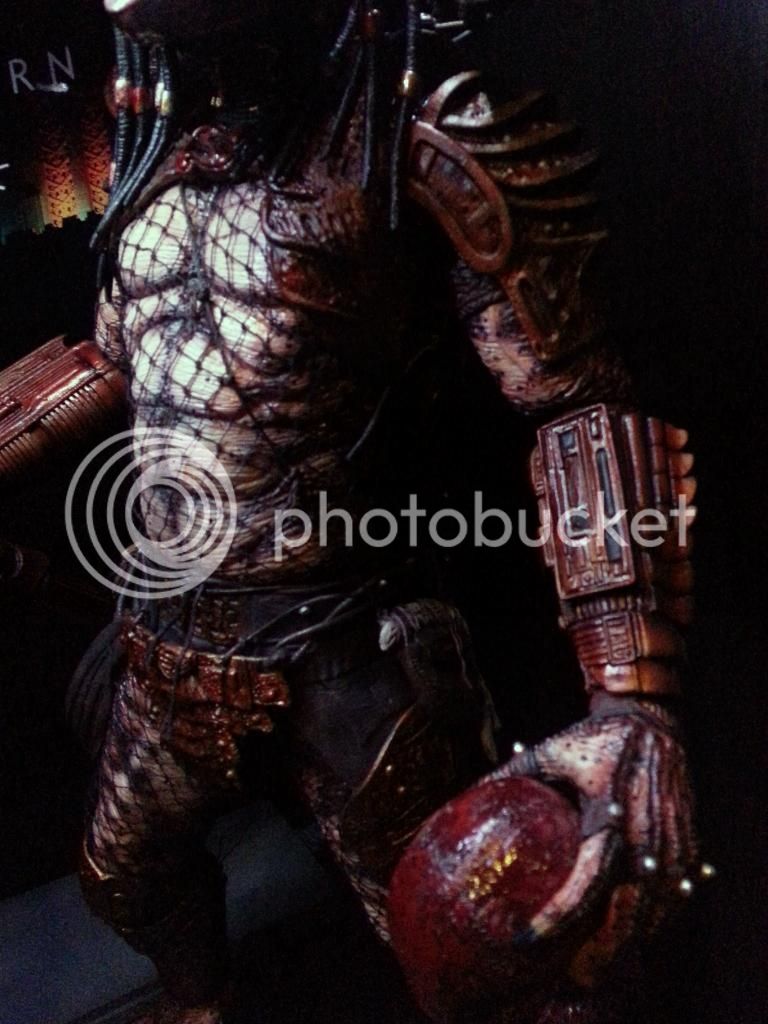
The Spear is one of the best accessories of the P2 but I wanted it held with his right hand like in the movie. Next up was to mod the hands and switch the spear to his right hand. I repainted the entire spear and also redid the symbols on the spear to replace the dots. His left hand was then modded to accommodate his bloody human trophy kill. For the skull & spine, rather than just be bloody, I also added a bit of flesh to give it a bit more gore. Now it looks nice & gross like it was just ripped out of somebody’s meatsuit!
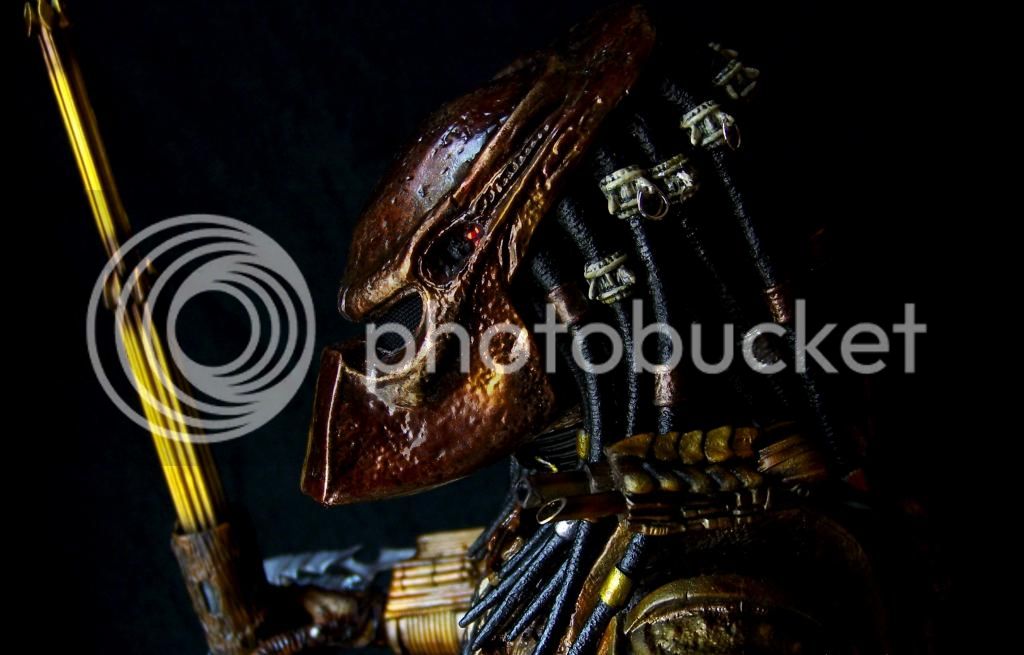
With all the fabrication work now complete, it was time to move to the painting phase. The Bio Mask, Dart Gun & Cutting disc were to have a slightly different look than body amour itself. I wanted them to look different, but also stay within the same color scheme.
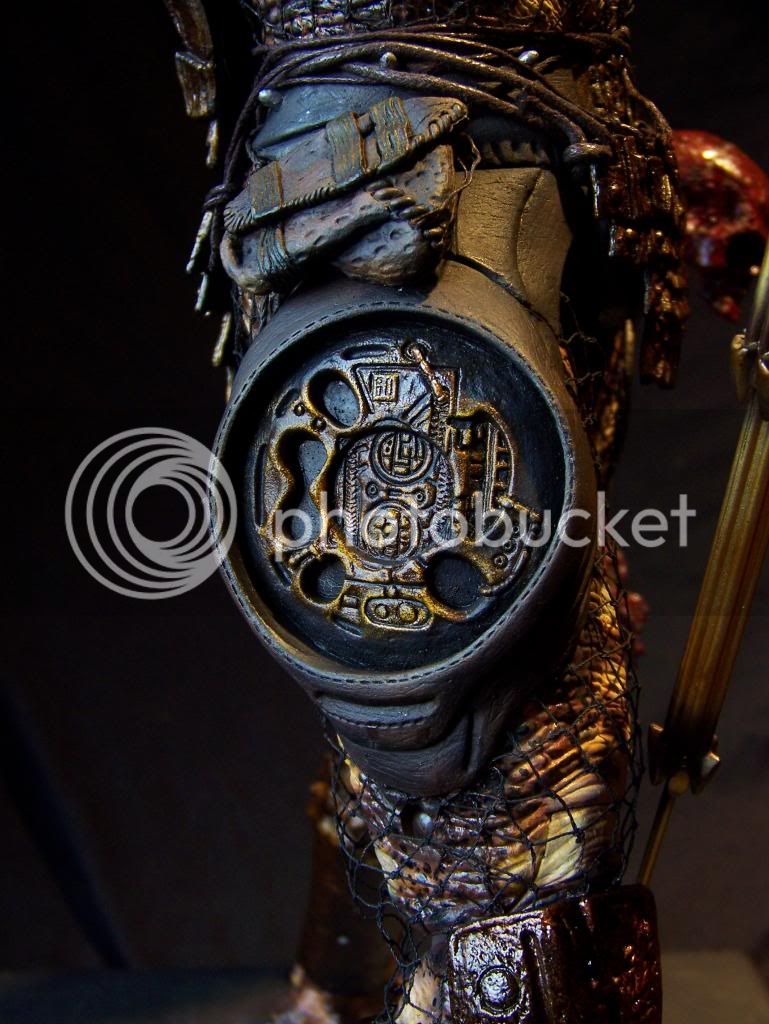
The waist & disc holster exterior was giving a leathery look while inside the disc holder was detailed to accommodate the metal disc itself.
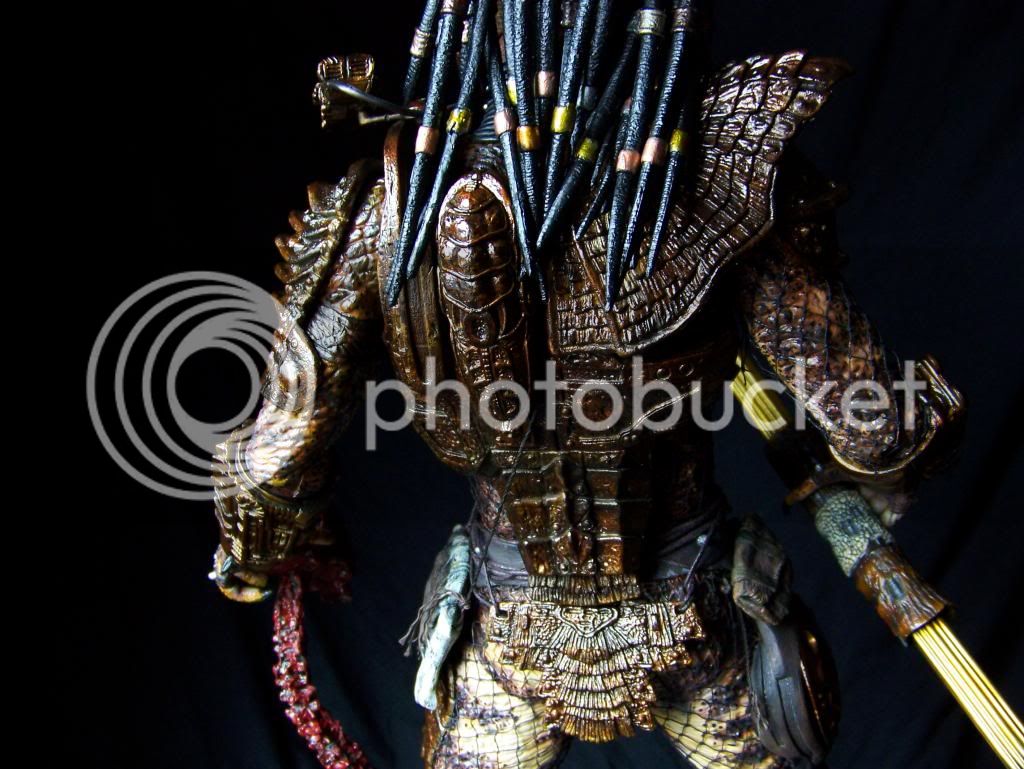
I ended up repainting all the dreads and detailed the beads & bone and then replaced the molded plastic rings with real metal rings.
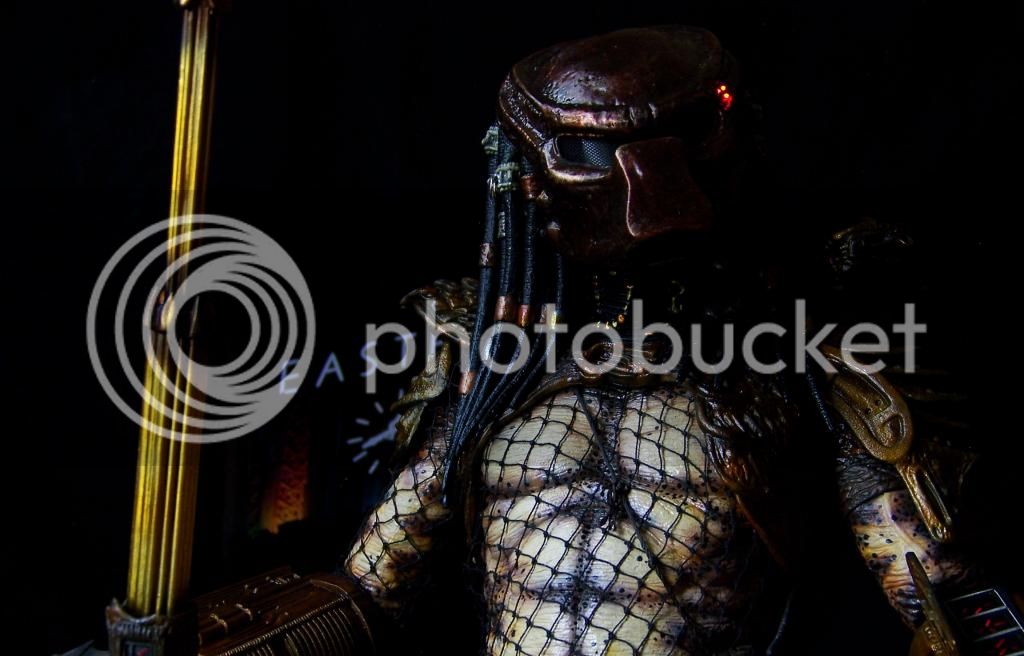
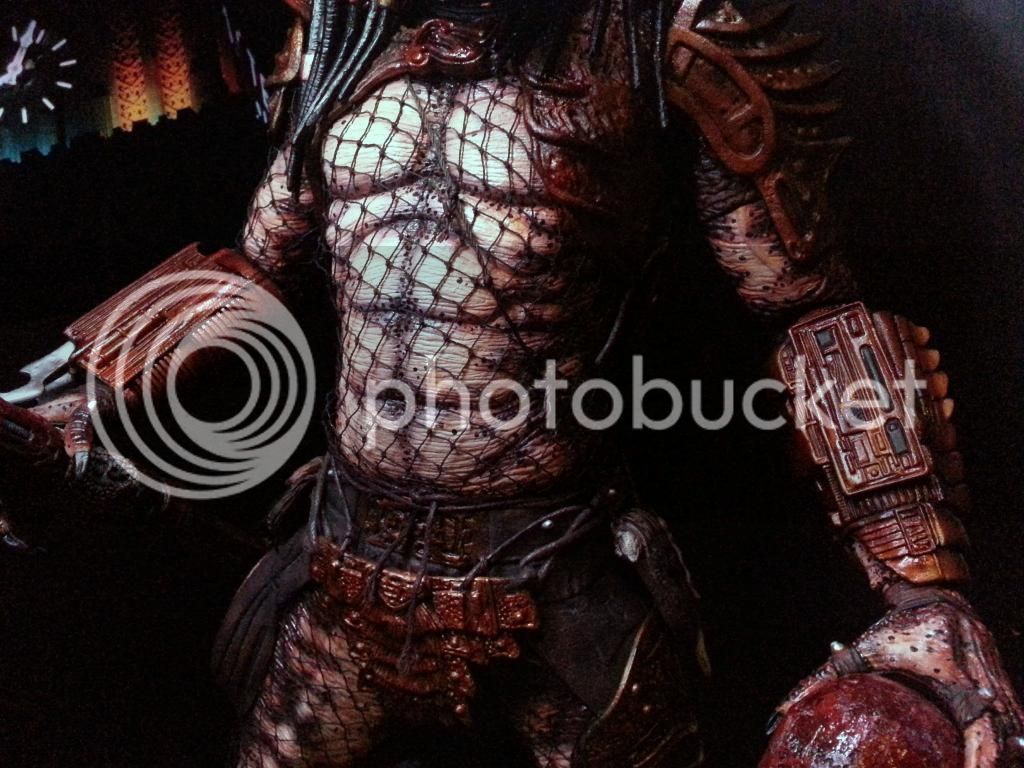
With the painting phase now complete, it was time to reassemble all the pieces. Once that was complete it was time to add the new body netting. The old netting was similar to the P1 which I didn’t like. The new netting really compliments the figure overall look. I left it on with a look of being a bit loose here & there.
Next up was to replace all the elastic string holding his lower front & back amour plates, along with the string for the two satchels. I replaced all the string with a real leather cord.
I then remounted the body amour to fit a bit more snug on his body. The knee pads were modded & mounted without those ugly elastic bands. The disc holster was also reseated to fit snug on his leg
One of the problems I encountered was the height limitation in my cabinet to where this is going. I ended up scrapping a planned rooftop base and settled on a more shallow plain version because of this. This thing still ended up being a bit taller than I anticipated. I simply did not have another place to display him. In the end the basic base had to be set behind him in my cabinet as this thing was still bit too tall with it. Oh well, it still looks nice without it.
Once I get a chance, I'll try & shoot some video of it as well.
For now please enjoy!

Last edited:

 ), light-up panel, symbols on the spear, etc.
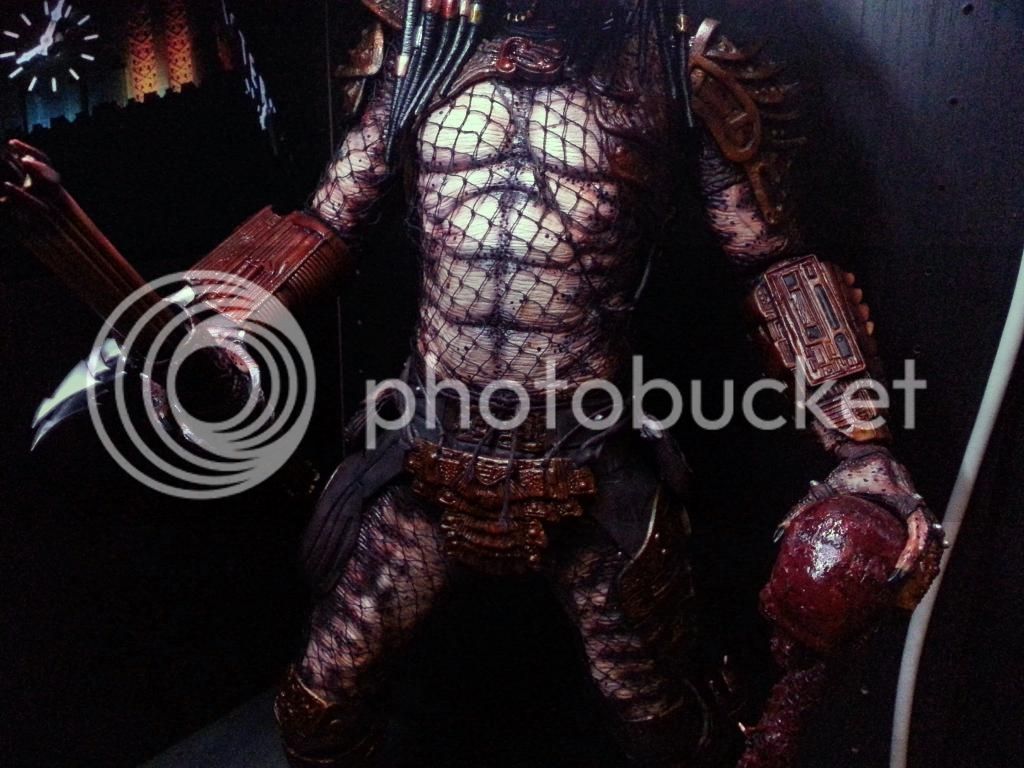
 Damn it looks 900$ figure and not 90$! Amazing skills!