Boba Fett Customizations/Modifications: Image Thread

Collector Freaks Forum

Help Support Collector Freaks Forum:

This site may earn a commission from merchant affiliate links, including eBay, Amazon, and others.

Darklord Dave

Super Freak
Joined
Sep 3, 2005
Messages
19,029
Reaction score
80
Re: 1/6th Scale Sideshow Boba Fett Figure

Dave, just curious how you tried to heat the armor...hair dryer or water? I've always been leary of using a hair dryer or heat gun, but have never had issues with boiling water.

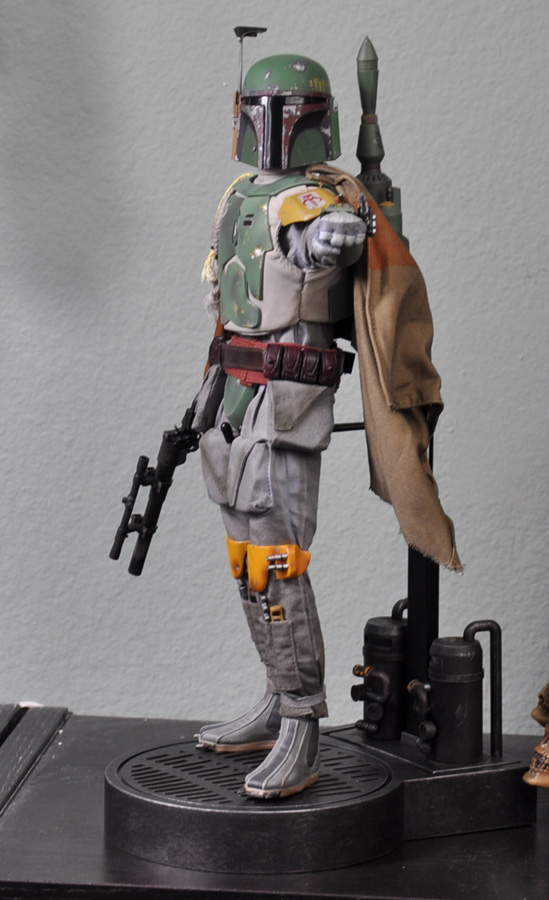
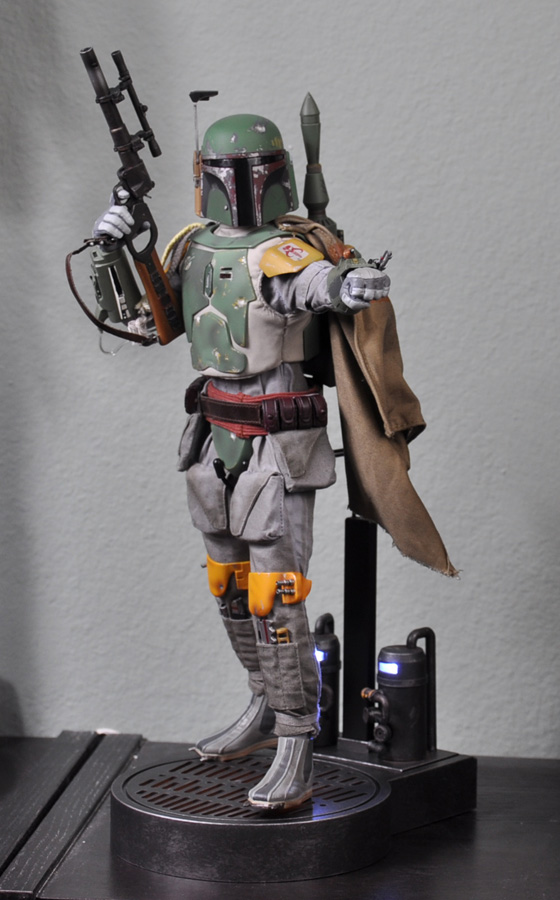
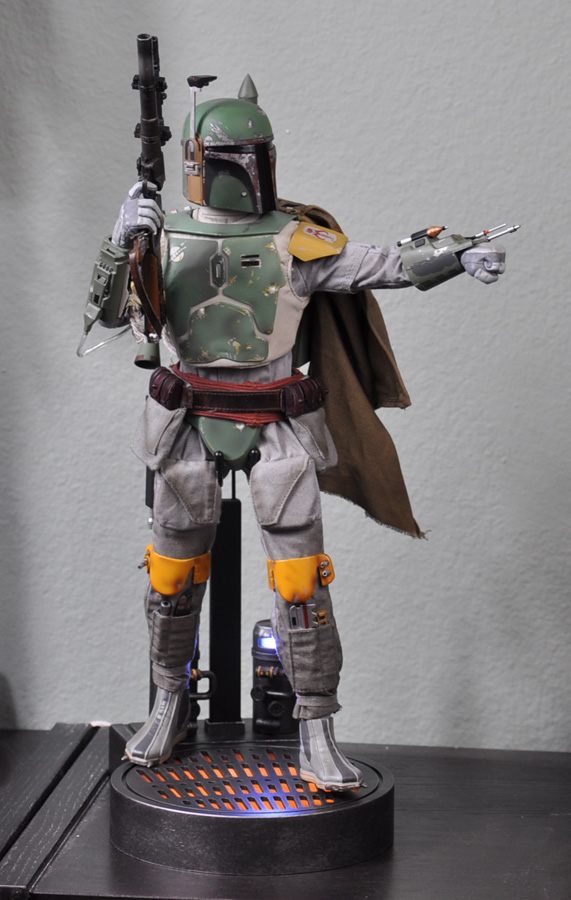
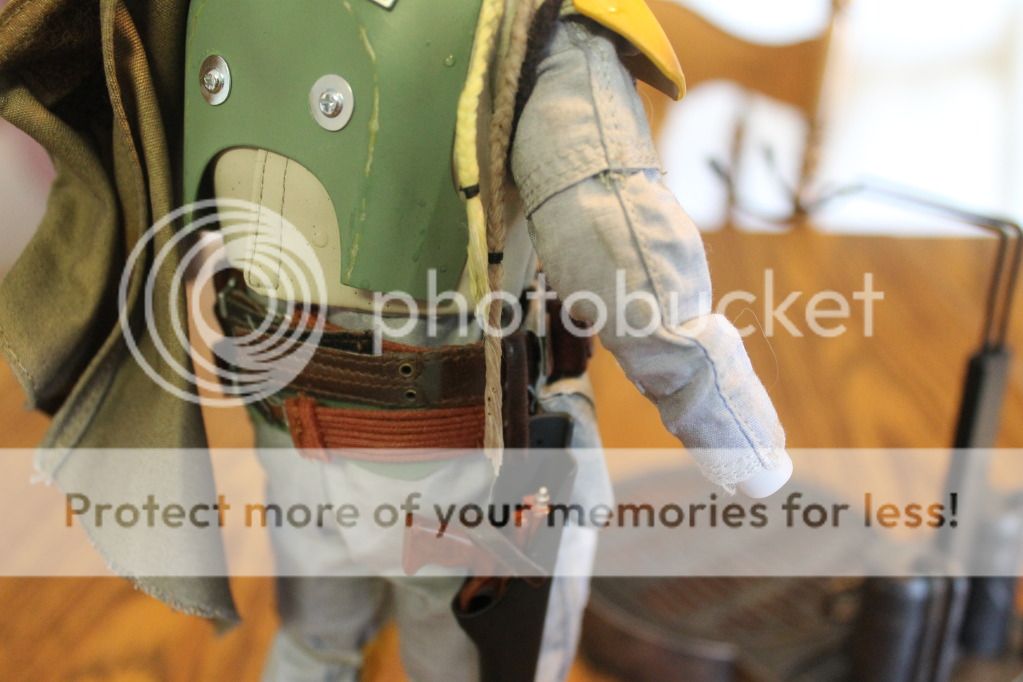
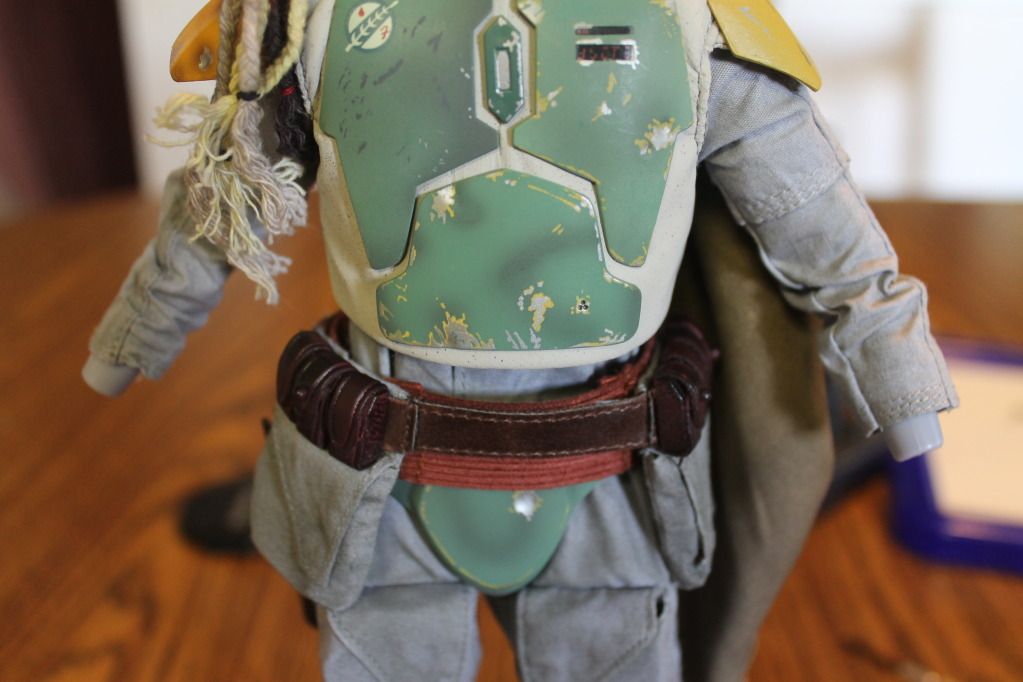
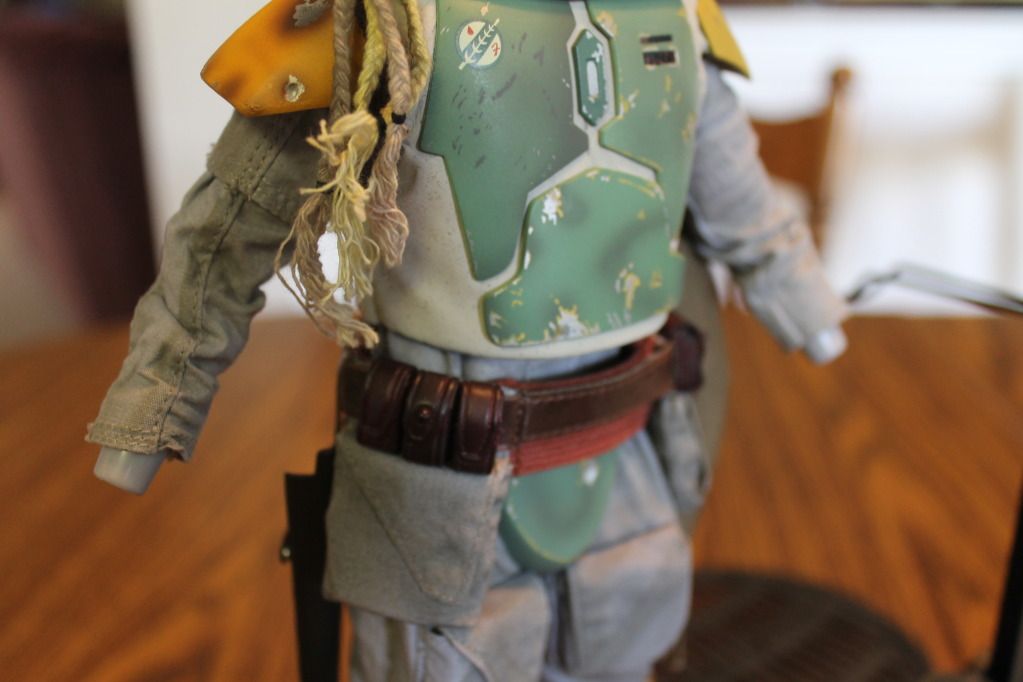
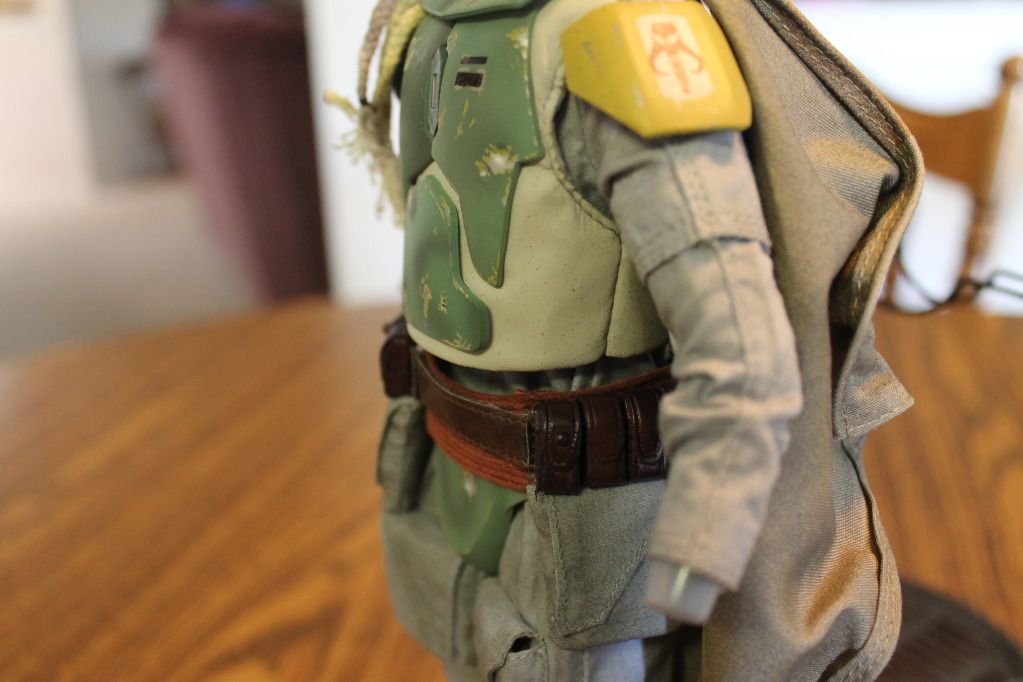
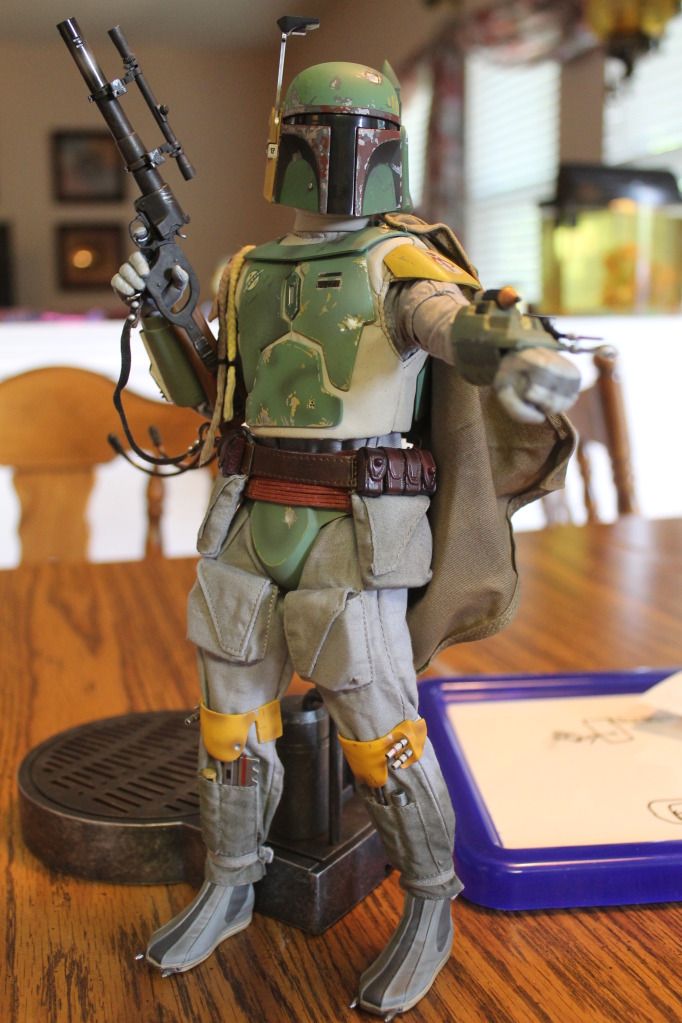
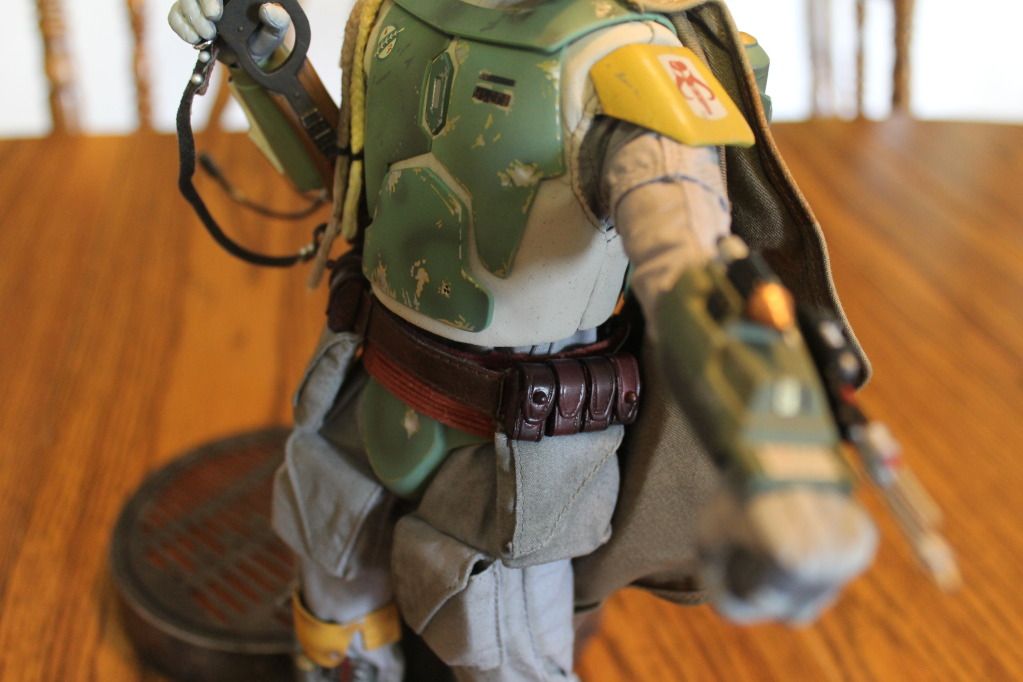
I used a heat gun thinking the stomach armor need to bend around the stomach area. But looking at screen shots the stomach armor should be flat.

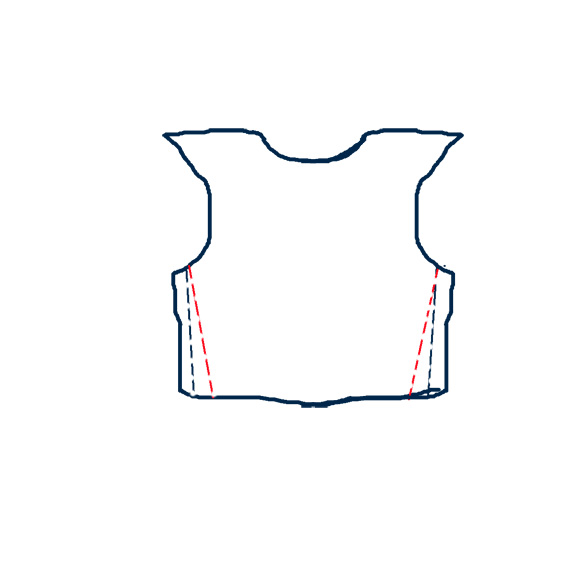
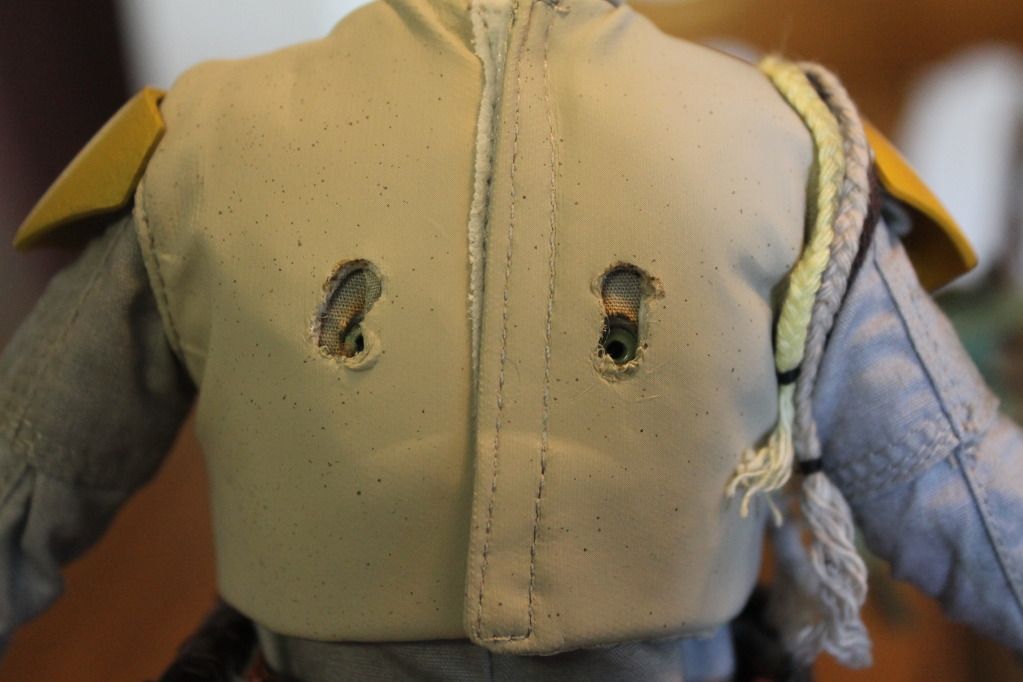
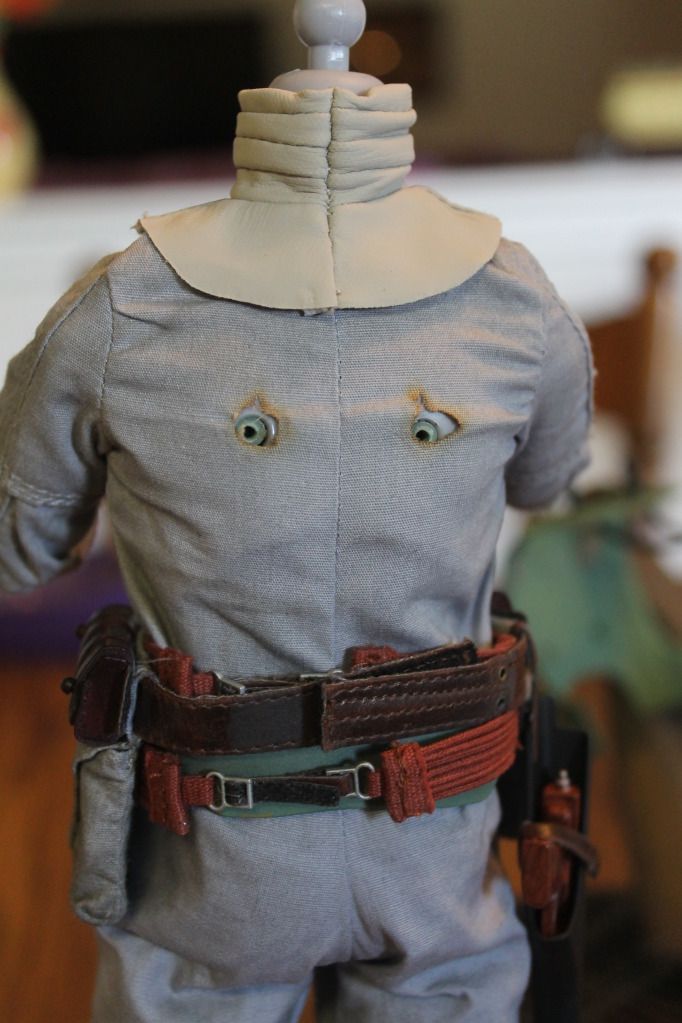
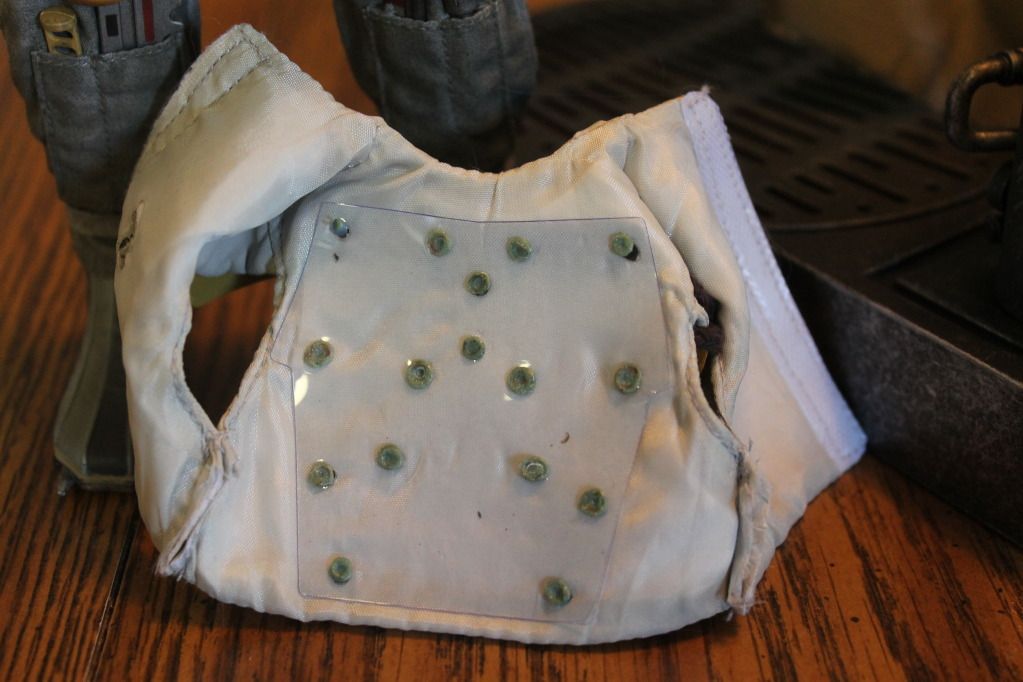
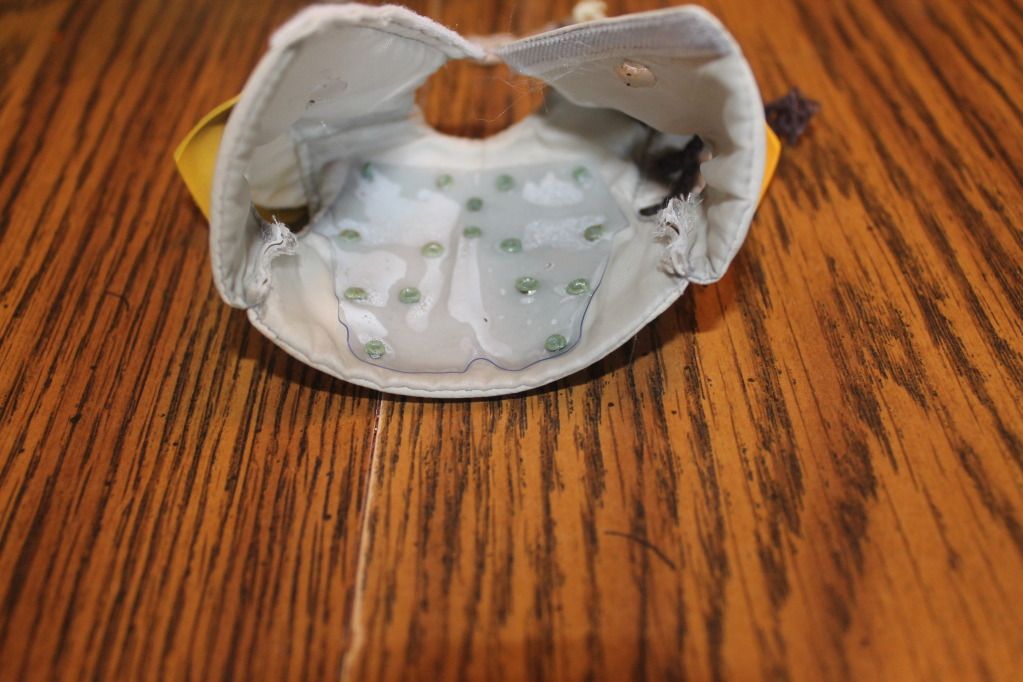
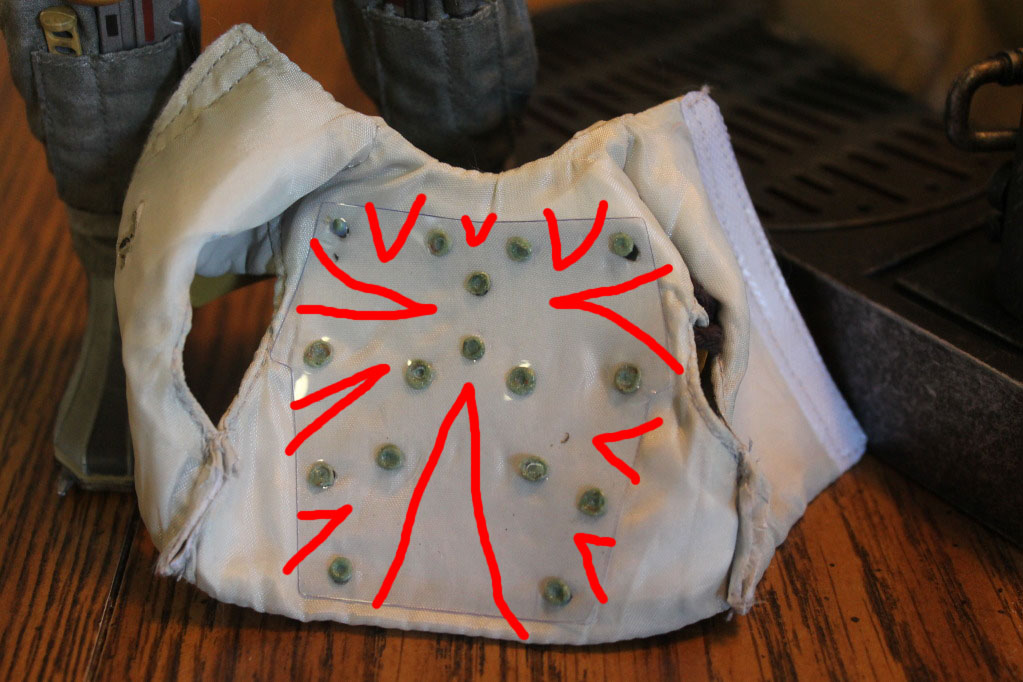
Sketch of vest turned inside out. Black is the original stitching, red is the modification I made.
BFvest.jpg
 
Re: 1/6th Scale Sideshow Boba Fett Figure

As I said - ignore the stomach plate - that was my fault and it didn't come like that.

boba3.jpg


boba2.jpg


boba1.jpg


boba4.jpg
 
Re: 1/6th Scale Sideshow Boba Fett Figure

Ok, so decided to take Boba apart and see what was up with the vest/chest and take some pics for you guys. This started off as a simple fact finding venture and kind of snowballed from there...but first things first...

Taking off the vest, as has been mentioned, requires removing the head, hands, and gauntlets...then removing the two screws in the back armor.

There's some nice padding under the helmet that really adds a nice touch of realism:

IMG_0798.jpg


The screws in question:

IMG_0811.jpg


Removed:

IMG_0799.jpg


Vest removed, need to mind the Wookiee scalps as they are attaced to the vest:

IMG_0803.jpg


IMG_0802.jpg


And the inside of the vest with the plastic sheet. You can see what Silent Surfer was talking about here. It can't really be removed:

IMG_0800.jpg
 
Re: 1/6th Scale Sideshow Boba Fett Figure

Now here's what I did...

I didn't really have any intention of messing with him, but since I had him taken apart, I figured I would see what I could do with some hot water...

If you choose to try this, proceed at your own risk! I heated up some water in the microwave just shy of boiling, about 3 minutes on high, pretty hot but not boiling. Dipped just the bottom of the vest in for about 20 sec or so and bent the bottom plate to my liking. Here's the thing though, the clear plastic backing acted almost like a shrinky dink and kind of got a little warped as you can see below. Not really a big deal to me, it's hidden and still functional but, once again, proceed at you own risk If the water had been hotter, or I left it in longer, this may have proven disastorous!

IMG_0804.jpg


Anyway, with some curvature in the ab plate, I decided to put him all back together after letting things cool and dry and this is the result:

IMG_0806.jpg


IMG_0807.jpg


IMG_0808.jpg


IMG_0809.jpg


Since I had the water out, I went ahead and water treated the Wookiee scalps as well. They are still wet in these pics:

IMG_0810.jpg


And here he is, all put back together:

IMG_0813.jpg


IMG_0814.jpg


IMG_0817.jpg


IMG_0818.jpg
 
Re: 1/6th Scale Sideshow Boba Fett Figure

What about using a very small pair of scissors or an X-acto knife to cut away most of the plastic sheet? Just leave a little around each 'rivet?'

- MJ

I haven't used xacto for something like this, but would it be feasible to cut through the plastic without worrying about cutting through the vest?

I'll wait and let others do the grunt work, so someone like myself (aka completely useless with things like this) can see what works best.

But if it turns out the plastic is the culprit, I'll probably just use scissors to cut out some of the material, like in this very professional diagram:

yZe46.jpg
 
Alright, it was time to put a thread together to JUST focus on mods and customizations of SS's 1/6th Boba Fett figure. This thread will serve as a resource for anyone who is looking to take their Boba Fett figure to the next level. Please post specific mods here and all normal photos and chat in the main figure thread. :wave

I've already attached the posts I've found to the the most insightfull.
 
Last edited:
Alright, it was time to put a thread together to JUST focus on mods and customizations of SS's 1/6th Boba Fett figure. This thread will serve as a resource for anyone who is looking to take their Boba Fett figure to the next level. Please post specific mods here and all normal photos and chat in the main figure thread. :wave

I've already attached the posts I've found to the the most insightfull.

thanks flosi,makes it easier once boba arrives!:clap
 
Ahhhh... Finally, useful information!

Thanks for sharing. The figure looks a million times better!
Great work.
 
dipping into hot water for 20secs shouldn't cause any damage or discolouration to the armour plates right? i might give it a try as the result looks very good!
 
I'd do intervals of closer to 10 seconds to avoid any risk of melting. I think the part most susceptible is the plastic under the vest, but still be careful as its always possible to do more, but you can't undo a melted piece.
 
Mine doesn't come in until later this week. Gaaah!

Any chance if you're planning on doing the hot water soaking mod... you can record the whole thing and put it up on youtube? Pretty please with sugar sugar sugar on top? :)
 
it seems if they would have just matched/mated the inner plastic piece to the outside armor the vest wouldn't have had as many issues. i may try to cut the liner like that or close to it depending on where the "weld" points fall into the relation of the armor itself.
 
Is the plastic under the vest held on by metal or plastic rivots?

Also, the screws on the back...is that rust or paint (in the pic below)?!?

IMG_0803.jpg
 
Agreed... just the extra bit of curve would have prevented the issue completely. Same thing with other figures with armor, sometimes the curve needed to conform to the body is not correct.
 
Great Thread. A big thanks to everyone who posted how-to pics - I never would have had the stones to take mine apart otherwise! :duff

Mine really doesn't need the whole vest treatment. I just re-attached the velcro at an angle from the top (loose) to the bottom (tight) and the vest hangs great now. I wasn't going to do any mods but the neck armor was overlapping the chest plates - which only requires loosening the screws and adjusting.
 
Back
Top